More fun vinyl pumpkins for you guys today. Just wanted everyone to know that this week (Sept. 18-24, 2011), fake pumpkins are on sale for 50% off at Michaels!
When I made these decorated white pumpkins, I went ahead and layered the vinyl. Check out the photo tutorial below.
First of all, I started with the Cricut Happy Hauntings Shape Cartridge and welded the words and also welded the shadows. I used orange, black and cotton colored vinyl from Expressions Vinyl. Why "cotton" colored instead of white? Well, in real life,the cotton matches the color of the pumpkins better, although the photos don't show that. I cut my vinyl out using the blade at 3, pressure and speed at 3 also - this gives the vinyl a "kiss cut", which means the vinyl is cut but the backing is not. This makes it much easier to lift off the images and letters. On the Explore, you just set the dial to "vinyl"! Then, I took away all the vinyl parts using the Cricut pokey tool that I would not need so I ended up with these:
From there, I used transfer tape to lift the top word and then layer it onto the bottom word (black "trick" onto orange shadowed "trick").
First, I smooth the transfer tape onto the top of the word (black "trick" above).
Then, I carefully peel the transfer tape up so that the letters stick to it.
Next, I carefully lay the black layer onto the orange layer. I don't start smoothing that down until I am sure it's where I want it. In the photo above, you can see that it is still loose.
Then, I smoothed it down and lifted off the transfer tape. I ran my fingers over it also to make sure the two layers were stuck together. Once I got all my layers done this way, using the same piece of transfer tape to be thrifty, I applied the transfer tape again to each word, making sure to pick up the entire two layers. Then, I lifted off the whole word section and applied it to the pumpkin.
Here's the end result!
Interestingly enough, I found these easier to apply than the solid shape items I made two days ago (the orange pumpkins in the photo below- click HERE if you missed that post). I have no idea why that is but they went on a lot easier! I placed both sets of pumpkins onto my hay bale at the front door - easy decorating!
How about a fun, ghoulish card to get this Thursday started?
This Dracula is from the Cricut Happy Hauntings Shape Cartridge and was cut at 4" to fit on this 4-1/4" x 5-1/2" card. I used red glitter paper for his cape and shiny silver paper for his face and hands.
I thought about putting red stickles down his chin but it seemed a little too gruesome and I worried I would smear it in my impatience to photograph the card. Good to know yourself...LOL! This "My Favorite Monster" stamp is from the Punkin Patch stamp set called Trick or Treat. See below:
For the inside of the card, I used another Punkin Patch stamp set called Little Monsters (see below), as well as the "Happy Halloween" from the Trick or Treat set:
I am an affiliate for Punkin Patch stamps and if you would like to purchase some of these stamps, please click HERE. They have a bunch of cute Halloween, Autumn and Christmas stamps that they have just come out with - check it out HERE. The quality is outstanding - stamps perfectly the first time!
I pop dotted my vampire for the front of the card, after mounting it onto a Spellbinders oval die cut.
Want to see more of my projects?
Click HERE to see my gallery!
Click HERE to go to my Creative Memories Website! Subscribe to Obsessed with Scrapbooking to learn more about ways to use the Cricut in your scrapbooking!
More fun vinyl pumpkins for you guys today. Just wanted everyone to know that this week (Sept. 18-24, 2011), fake pumpkins are on sale for 50% off at Michaels!
When I made these decorated white pumpkins, I went ahead and layered the vinyl. Check out the photo tutorial below.
First of all, I started with the Cricut Happy Hauntings Shape Cartridge and my trusty Gypsy. I used the Gypsy to weld the words and also then to weld the shadows. The files will be available at the bottom of the post for download later today. I used orange, black and cotton colored vinyl from Expressions Vinyl (click HERE to order). Why "cotton" colored instead of white? Well, in real life,the cotton matches the color of the pumpkins better, although the photos don't show that.
I cut my vinyl out using the blade at 3, pressure and speed at 3 also - this gives the vinyl a "kiss cut", which means the vinyl is cut but the backing is not. This makes it much easier to lift off the images and letters.
Then, I took away all the vinyl parts that I would not need so I ended up with these:
From there, I used transfer tape to lift the top word and then layer it onto the bottom word (black "trick" onto orange shadowed "trick").
First, I smooth the transfer tape onto the top of the word (black "trick" above).
Then, I carefully peel the transfer tape up so that the letters stick to it.
Next, I carefully lay the black layer onto the orange layer. I don't start smoothing that down until I am sure it's where I want it. In the photo above, you can see that it is still loose.
Then, I smoothed it down and lifted off the transfer tape. I ran my fingers over it also to make sure the two layers were stuck together. Once I got all my layers done this way, using the same piece of transfer tape to be thrifty, I applied the transfer tape again to each word, making sure to pick up the entire two layers. Then, I lifted off the whole word section and applied it to the pumpkin.
Here's the end result!
Interestingly enough, I found these easier to apply than the solid shape items I made two days ago (the orange pumpkins in the photo below- click HERE if you missed that post). I have no idea why that is but they went on a lot easier!
I placed both sets of pumpkins onto my hay bale at the front door - easy decorating!
I have a different Christmas-y post over on Everyday Cricut so be sure and head over there!
Gypsy files will be available later today.
This week's giveaway is:
Cricut Girl's Makeup Party Cartridge!
How can you win?
1) Leave a comment telling me your favorite fall food.
2) Subscribe or follow the blog!
Winner announced next Monday, September 26, 2011.
Want to see more of my projects?
Click HERE to see my gallery!
Click HERE to go to my Creative Memories Website! Subscribe to Obsessed with Scrapbooking to learn more about ways to use the Cricut in your scrapbooking!
I made this quick A2 sized card (4-1/4" x 5-1/2") using the new Cricut Happy Hauntings cartridge. I have a card making group and need to be able to cut multiples of images so I can provide each person with a card kit.
Since I just got the Cricut Imagine Machine, I thought I would see what the machine could do to help me make up my class kits.
I found the orange patterned dot paper on the color selection on the new Cricut Imagine More cartridge and decided to learn how to use the autofill feature to cut out as many scalloped circles onto one mat as I could. To see how I filled the circle with the orange pattern and then used the autofill button, see the video below:
Next, I needed to cut out 9 bats to go inside my orange circles so I used the art quantity button on the Cricut Imagine machine to do so. I also wanted to use 8-1/2" x 11" paper to cut my bats out and wanted to see how the machine handles odd sized paper. Check out the video below to see that function:
Stamps from Michaels and Joanns. Cardstock from Core'dinations - patterned paper by Making Memories. Ribbon from Michaels and Hobby Lobby. Punch by Martha Stewart.
Hope these videos are helping you to see the different functions of the Cricut Imagine machine.
For those of you worried that I have abandoned the Expression machine, do not fear! I still love my pink E and plan to continue to feature projects and cartridges related to that machine.
Also, here are the answers to some questions we received over on Everyday Cricut:
1) Can I use my existing mats in the Imagine machine? No. There are dark lines all along the edges of the Imagine mat that define it for the machine. You can use the Imagine mat in the Expression machine, though. The Imagine does not have a 12x24 mat at this time.
2) I heard that we will be able to put the imagine cartridges on the Gypsy. Will we be able to cut Imagine images from the Cricut expression through the Gypsy? I know we wouldn't be able to do the coloring but I am asking about the images. If not will Provocraft be making regular Cricut cartridges with the same designers they are using for the Imagine cartridges. I saw they will have Cosmo Cricut designs available for instance on the Imagine. Will CC be designing a regular cartridge as well.
I will have to find out the answer to this.
3) How much is the Cricut Imagine? MSRP is $599. We do NOT know what HSN will be pricing the machine at or what the package will be at this time. Tune in to HSN on Tuesday, September, 14, 2010 at 12:01 a.m. EST to find out more.
4) When you are printing your images, are you using best quality or draft? Is there a significant difference? For blog purposes, we have only used best quality. But, we will be testing this and will let you know.
5) How does print quality affect printer ink life? We do not know at this time. Of course, we assume it would last longer.
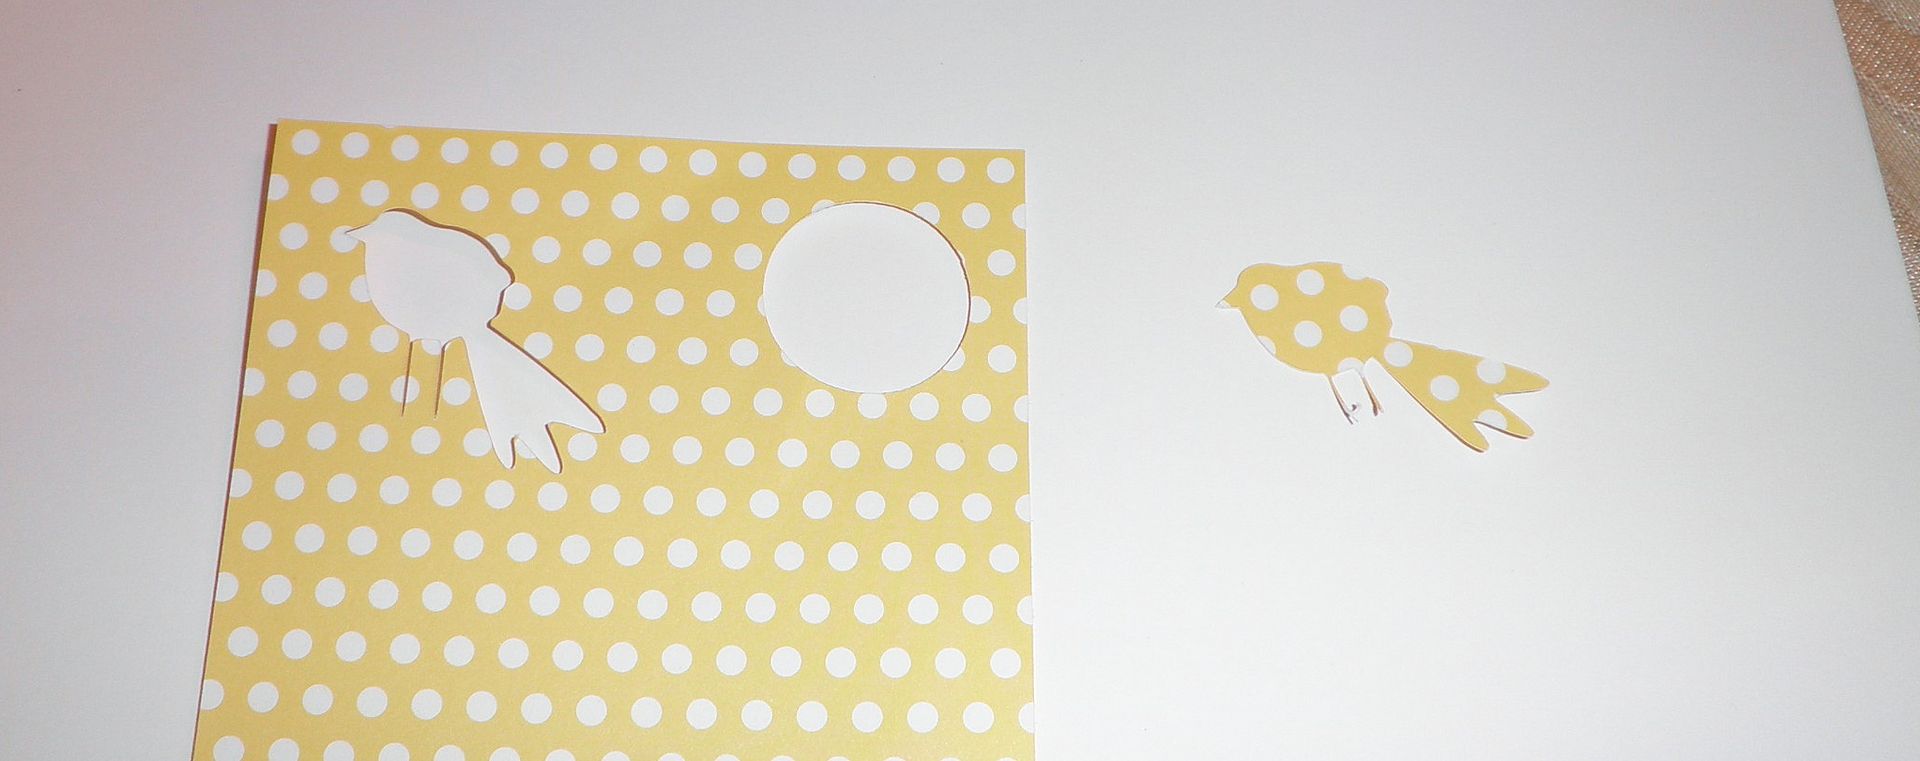
6)If you want to cut, instead of print, a single image like that bird, you can only get the basic shape of it, not layers? As in the example yesterday, that is true. The bird won't layer itself. BUT some of the other iamges break into layers. So, it is dependent on the image itself.
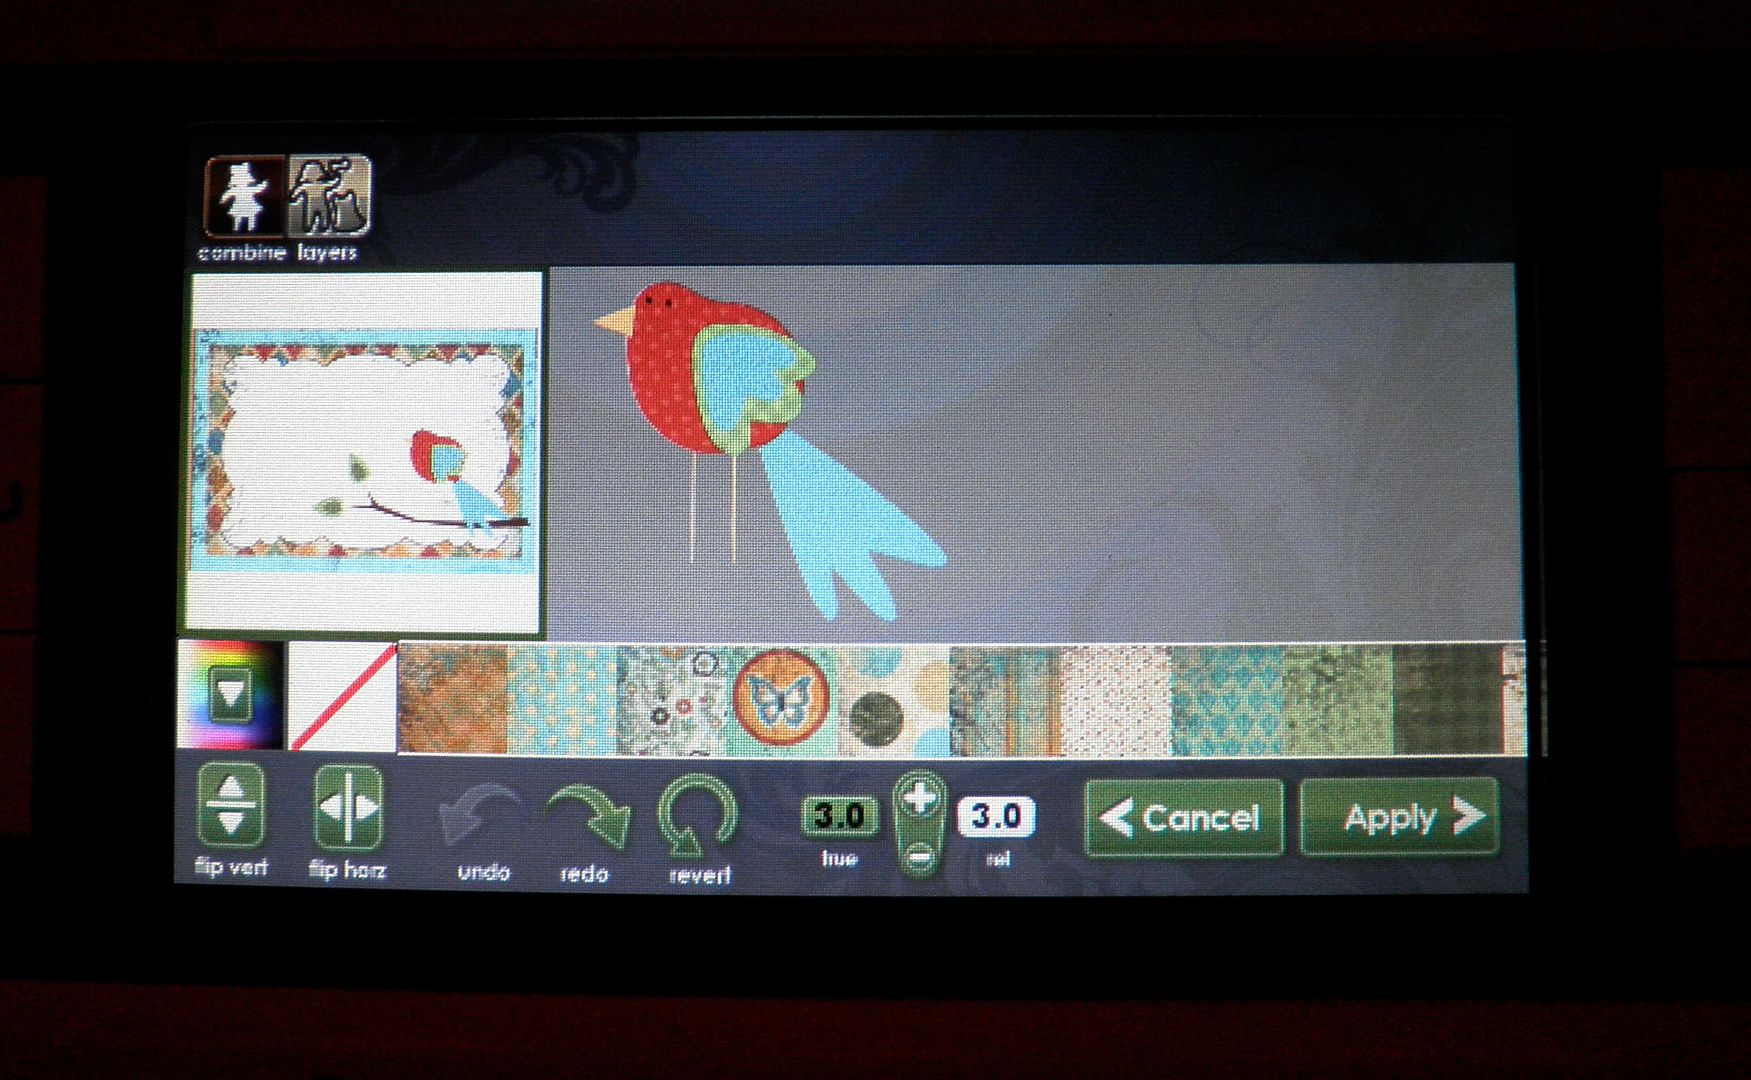
7)Can you pick just one element to cut out of the Imagine carts? for instance, yesterday, could you have chosen to just cut out your bird? Yes, you can. You can cut out the bird like below (with all its layers and colors) OR the outside shape either filled in with color or using your own patterned paper.
Here I am cutting just the bird shape - not the whole image shown to the left of the bird (with frame, branch, etc.):
8) Can you print, unload it to look at it, then reload it and have it cut the image you just printed without any troubles with realignment? We haven't tried this yet. Will have to get back to you.
9) You mentioned you can print a full size 11.5x11.5 paper- does it actually print a full 12x12 sheet of paper or does it print at 11.5? No, it will only print at 11.5x11.5.
10) The screen on the imagine, how is it compared to the screen on the gypsy? The screen on the gypsy is pretty small in my opinion. The screen is a little larger and in color, which makes a HUGE difference. BUT, you will need to be able to pull up a chair to work the screen properly so a desk setting probably would be best (or the end of your dining room table if you are Joy....for now, at least!).
11) I have the Design Studio and it is not compatible at this time.... Do you know if it will be in the near future? We do not know what the timeline is for that.
12) I'm not really tech savvy and that is what concerns me. Is the machine hard to use? It is surprisingly easy (and we're not just saying that!). We are working with NO MANUAL whatsoever and in about an hour, we were making things with no trouble. It will take you less time since we made videos on some of the things that took time figuring out (loading print cartridges and calibrating).
13) If you were just going to cut something from one of the original carts would you use your expression or do you see an advantage using the imagine? Oh and can you weld on the Imagine machine without the gypsy?
It's almost the same as using the Expression now although it does not cut as quickly (high speed on the Expression is VERY FAST). But, the scallops on the circles are perfect! You CANNOT weld using the machine alone. You would need the Gypsy to do that.
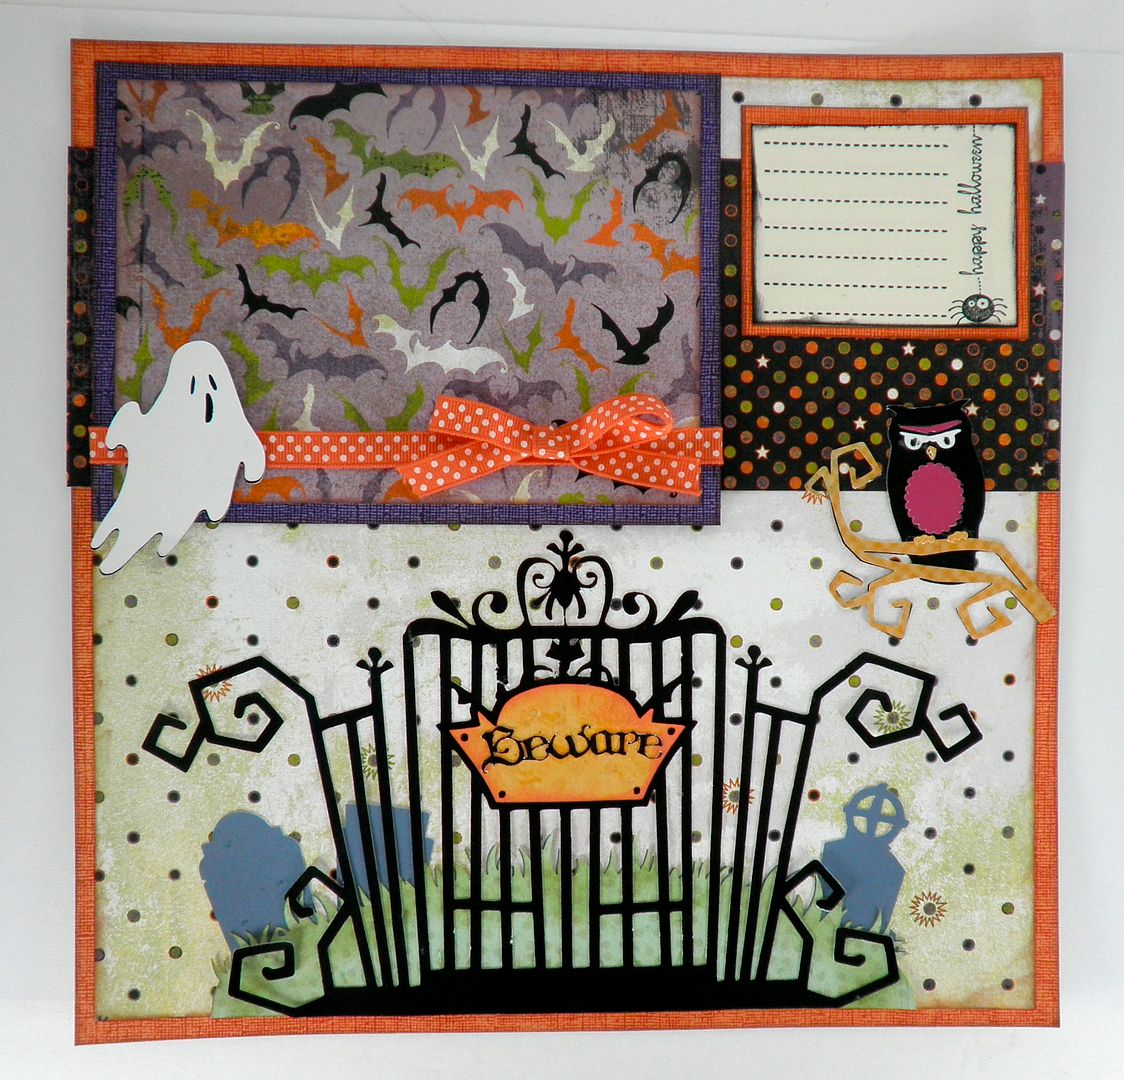
14) My question is this, although your lo's looks great, some projects look "printed" with the imagine. So does the gate look like it has been "printed"?? Or any other printed images, do they look like they have been printed? First of all, the gate is individually cut out, just like the Expression does - I just filled it in with black color instead of using black paper. For the regular images, such as the bird card from Monday, if you print out the image flat (without layers), it does look printed. If you cut it in layers, it doesn't because you can see the layers and variances. And, with the layers, you can texturize with the Cuttlebug, sand, ink, add pen work, etc.
15) Do you know what the blade housing is made from? Heavy duty plastic - feels more sturdy than the Pink E. However, I have the Pink E and it gets quite a workout and the blade housing works like a champ.
16) How much are the new cart. going to run do you know? New full Imagine cartridges with images and color design choices will be $89.99 MSRP and the Imagine cartridges with just color design choices will be $49.99. There are many Imagine cartridges coming up SOON!
17) How do you use the Gypsy with the Imagine? There is going to be a Gypsy update next week that will make the Gypsy compatible with the Imagine. So, for now, we are unable to show that.
18) Can you print sentiments onto the Imagine images using a Cricut font cartridge? For instance, on the card you did yesterday, could you have printed the sentiment instead of using a stamp? Not at this time.
19) My question is can you cut vinyl and magnet material with the imagine? There will be a special Vinyl released to be cut in the Imagine. It has to do with the what the machine can handle (either heat or ink is the issue...). Magnet material may be too thick to go through the machine.
20) Do you see the Imagine replacing the Expression or would I still have a use for both? The Imagine is like the Expression PLUS way more. BUT, it is heavy (27 pounds), large and not terribly portable. So, cropping with it would be hard. Also, Imagine cannot cut the bulky stuff (chipboard, magnet, etc.) so that would need to be factored in.
21) My question is are we going to be able to use glue to make our mats sticky again. Seems like that would be risky with the printer. If not how much are the new cutting mats going to be and how long will they last? Not sure. Will find out for you!
Subscribe to Obsessed with Scrapbooking to learn more about ways to use the Cricut in your scrapbooking! This post may contain affiliate links, which help subsidize my diet coke and coffee intake, necessary to run this blog.
This Happy Hauntings layout was also created for Everyday Cricut! Here's a copy of the Q and A on the machine that may provide some answers for those of you interested in the machine!
1) How much are the ink cartridges? At this time, the black is $34.95 and the color is $39.95. Are the inks refillable? Not at this time.
2) How many sheets will they print? If you printed entire 11.5x11.5 sheets of full color (i.e. used a pattern over the full page to create what would look like a regular printed scrapbook page), we are hearing between 50-75 sheets. If you cut and print a bunch of different images, such as yesterday's project, that number is much higher at 120-150. I am sure it depends on how color intense the images are and their sizing. The machine comes with black and color ink cartridges full.
3) Can you use the Imagine cartridges in the Expression/Baby Bug/Create? No. They have a smaller housing so they cannot fit. However, the regular Cricut cartridges (full size, solutions, lite, cake) will fit in the Imagine and you can either "print and cut" using Imagine colors/regular ink colors or just "cut". You could also put regular scrapbook paper in the machine and just cut the images(same as the Expression/Baby Bug and Create).
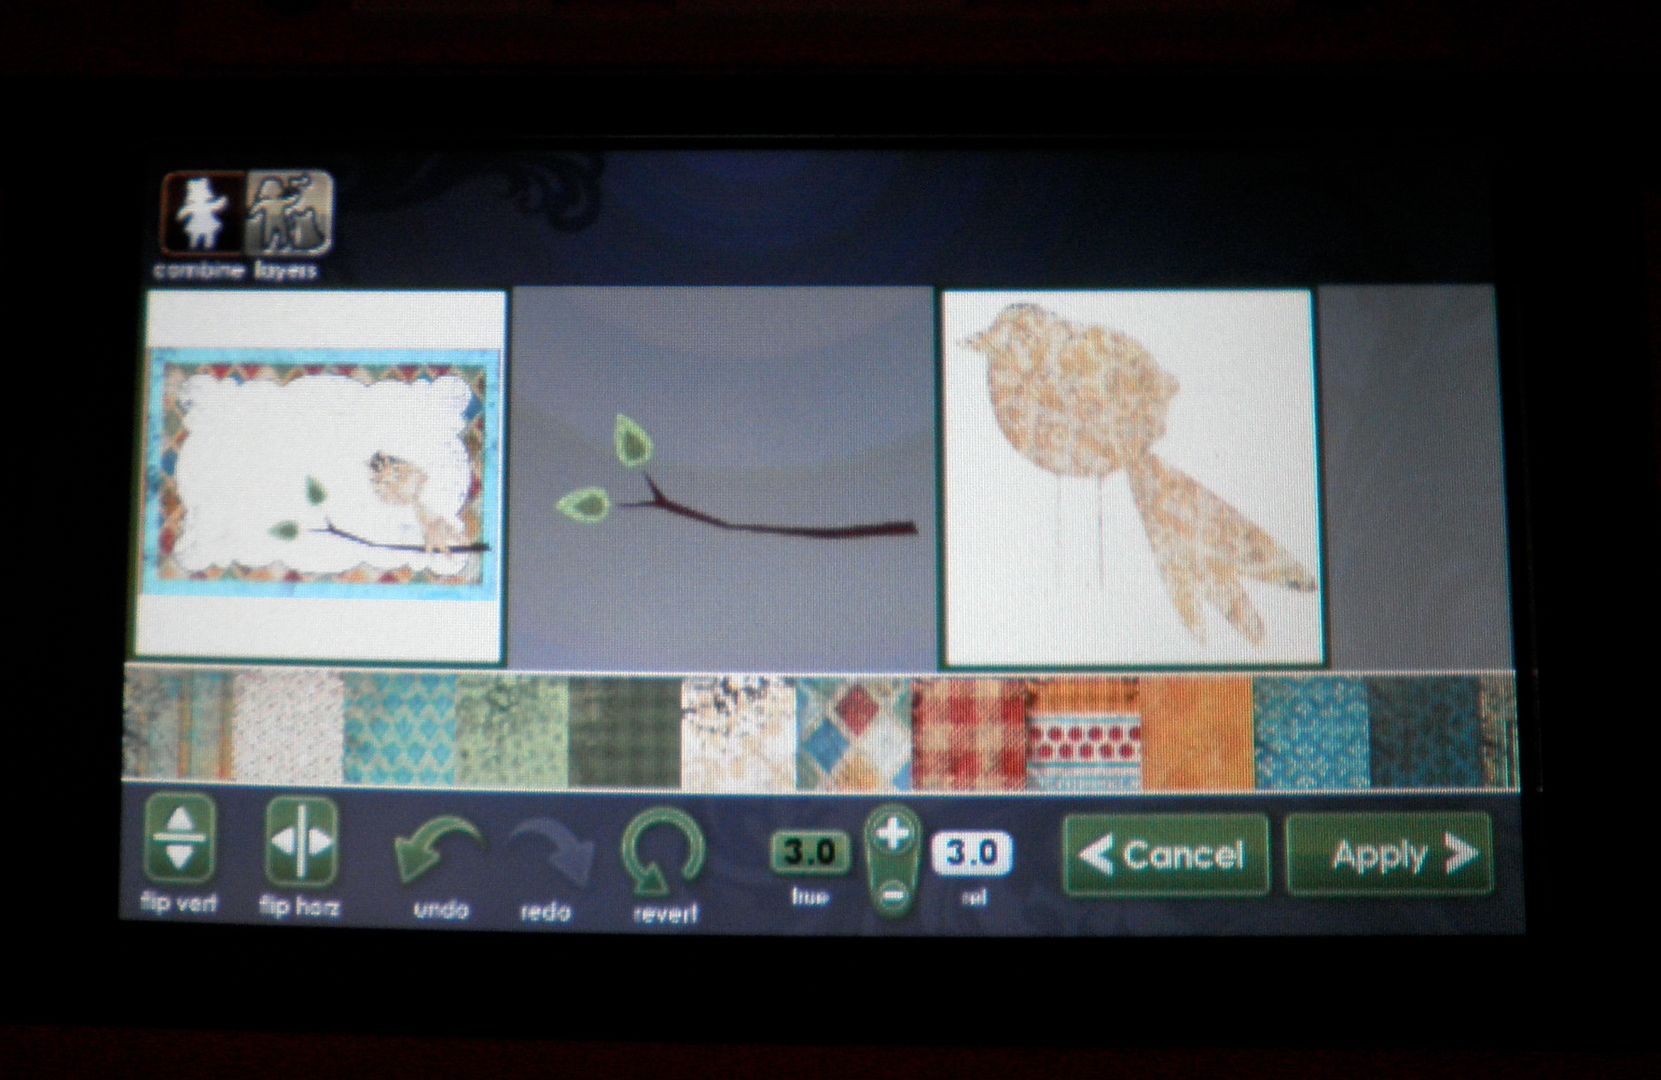
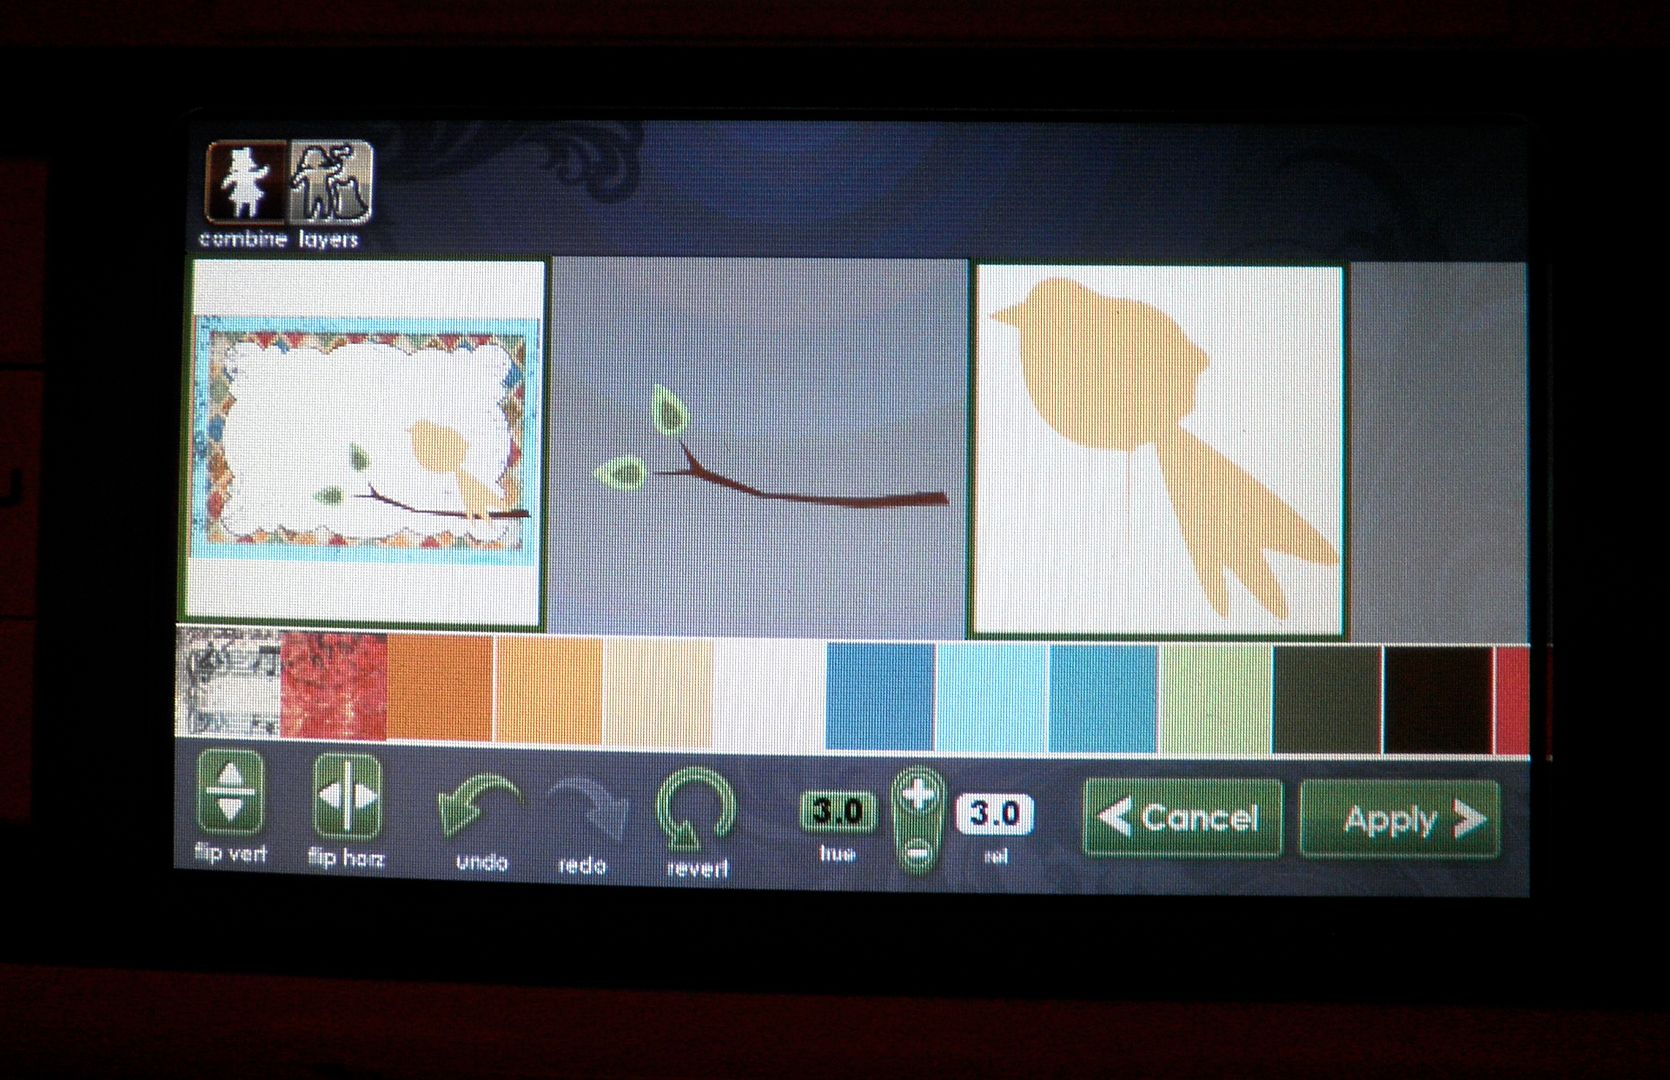
4) Can you mix and match the images from the Imagine cartridge and change the colors? Could I have cut a yellow bird (from yesterday's project) instead of orange? YES! See photos below!
Regular Bird:
Colored with yellow pattern:
Colored with solid yellow:
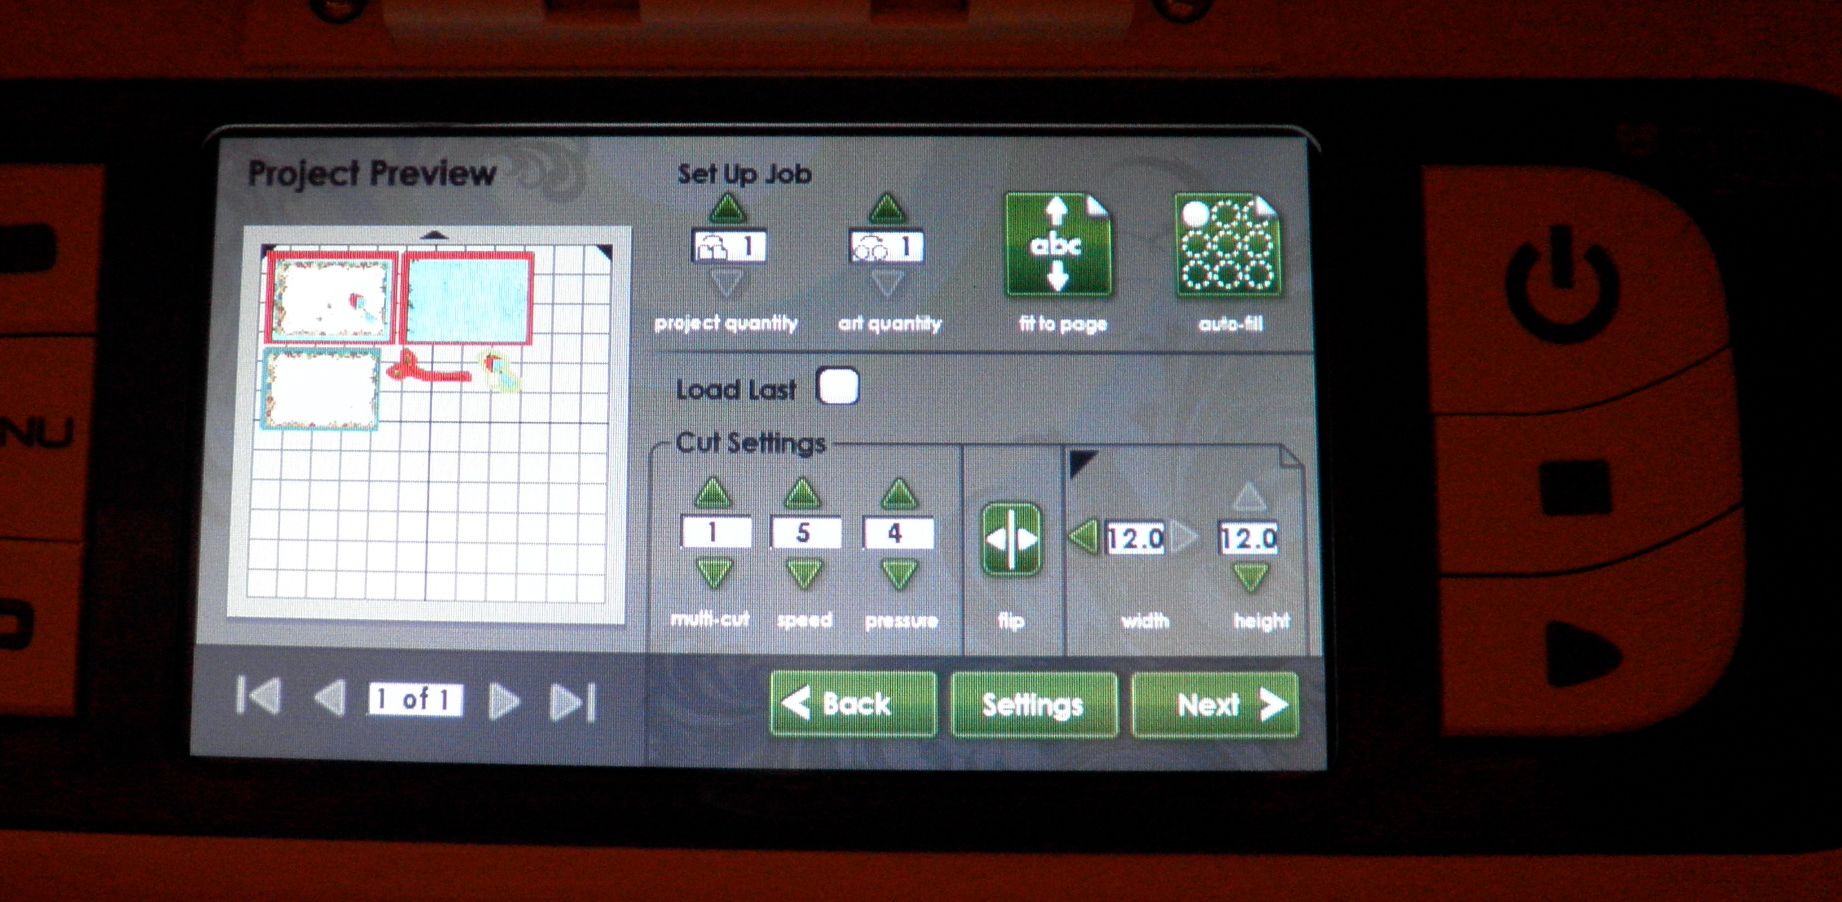
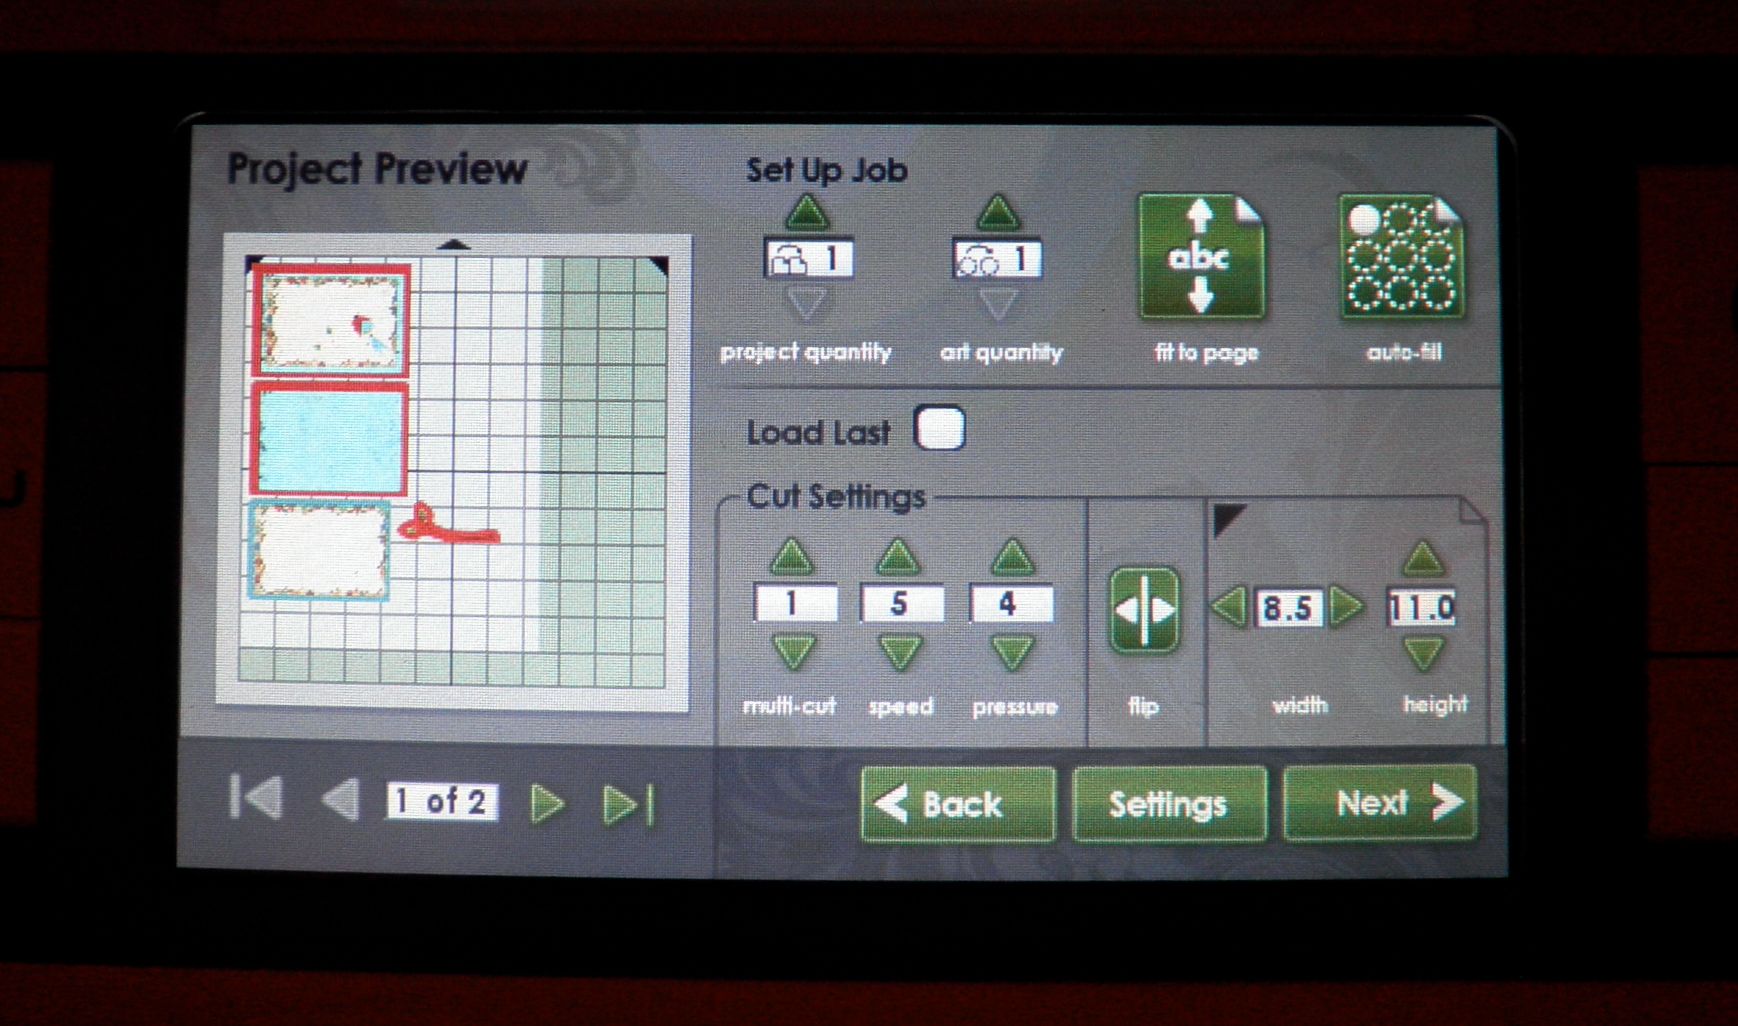
5) Do you have to use a full sheet of paper or can you use smaller pieces? Yes! You can use smaller pieces and there is a place to enter that info and then the machine resizes the preview and rearranges the pieces to fit them. You can also "load last". See photos below:
Using a 12x12 sheet:
Using an 8.5 x 11 sheet (requires two sheets):
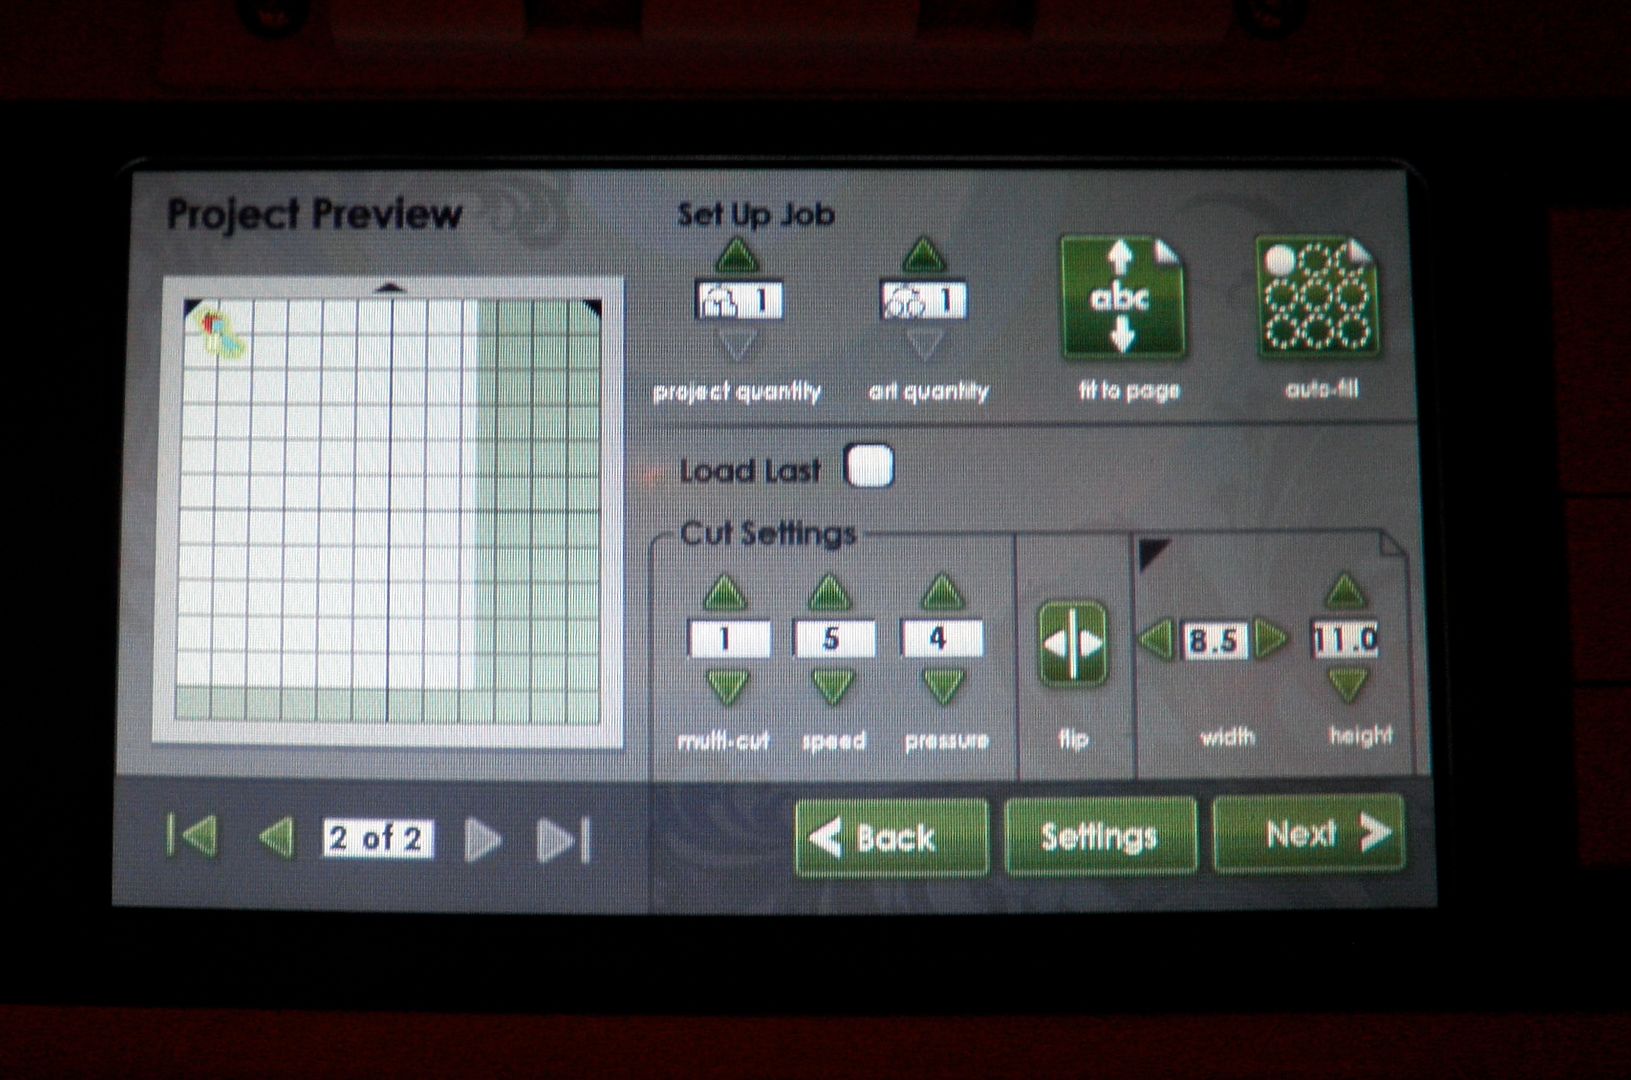
Page 2 of 8.5x11:
6) What type of 12x12 white paper came with the machine? We do not know the brand but it was good quality, smooth cardstock. We also tested the Georgia Pacific white cardstock from Walmart ($6 for 150 sheets of 8.5x11) and some Bazzill embossed cardstock and they all printed and cut fine.
7) So how about if we have the patterned paper already. I am guessing we would have to use white only all the time. We would not be able to cut the bird out of patterned paper I already had? NO! You can do it. You can select an outline only button and it would cut the outline of the bird. See photo below.
8) What is the difference in the mats and can they be used in the regular Expression? The main differences are that these mats have a new glue to them and that they have thick black edge markings around them to tell the machine where to stop printing. They will work in the Expression. We were told that these will be the new standard mats for all machines eventually.
I will have a new project up tomorrow here with video and a different one over on Everyday Cricut. All projects were completed by Melanie (Courtney Lane Designs) and myself together!
Remember, the HSN launch for the Imagine Machine is on Tuesday, September 14!
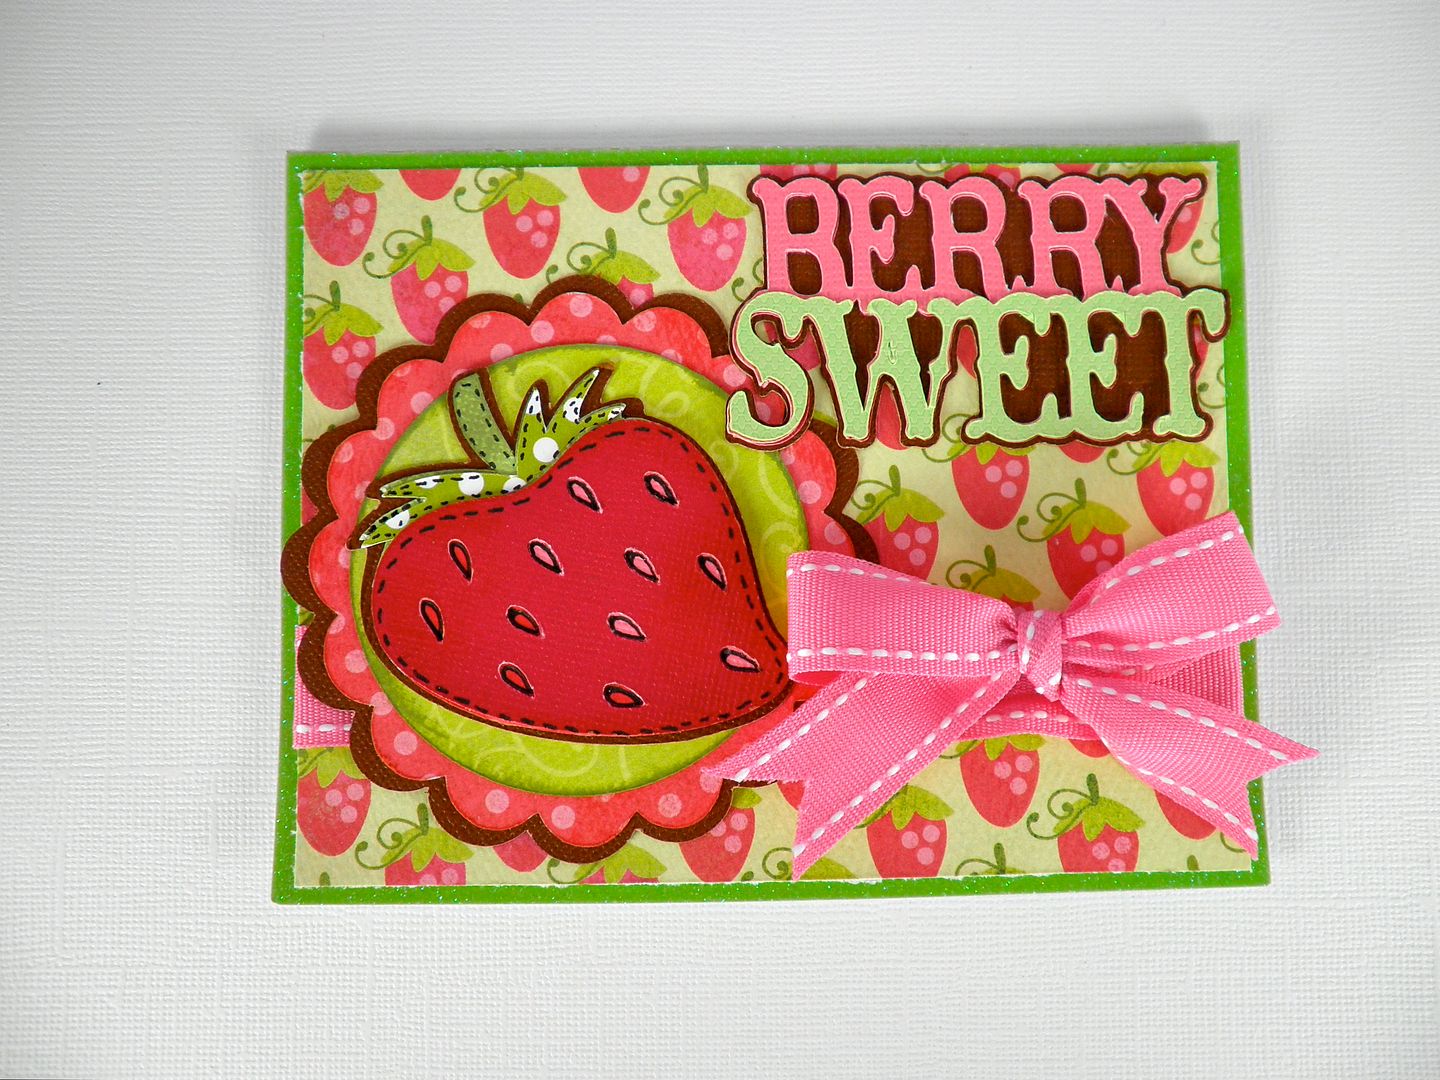
Something to know about these cartridges: They all have amazing layered word art - the best yet! I especially love the Halloween and Christmas word art - every saying is fantastic!
The strawberry and "berry sweet" are both from this new cartridge. The scalloped circles and regular circle are from Mini Monograms. Paper is by My Minds Eye. Ribbon by Papertrey Ink.
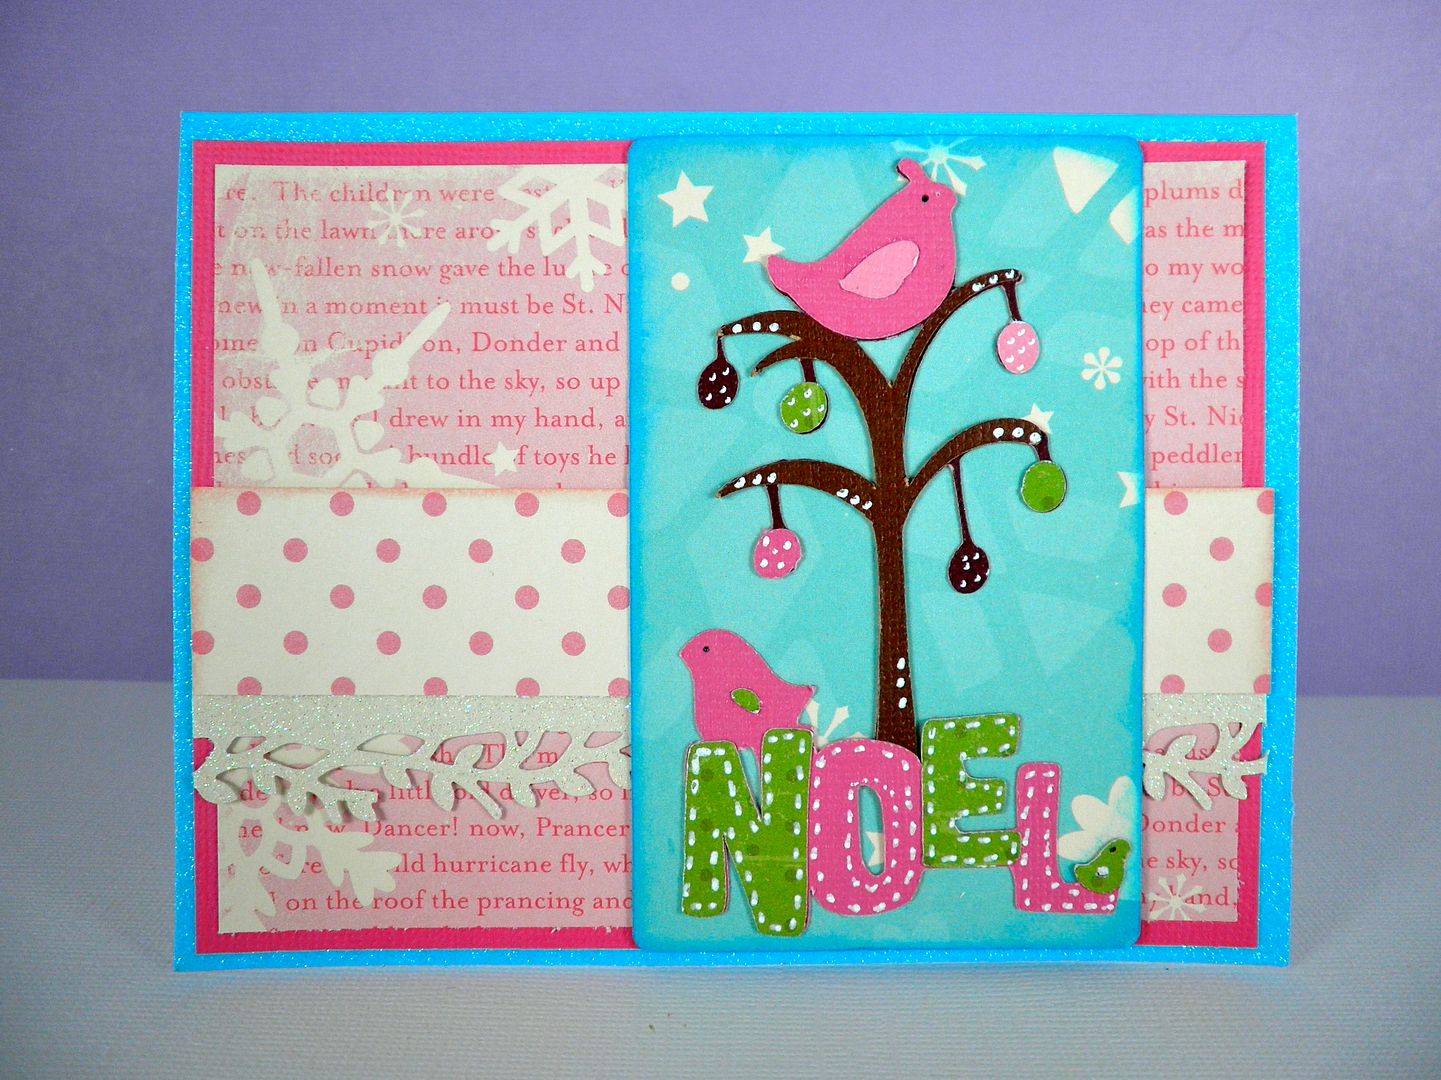
Non-traditional Christmas colors work great with this bird in a tree! I loved this image the moment I saw it and it paired perfectly with the "noel" word art also on the cartridge! This is going to be a heavily used cartridge in my house. I thought nothing could replace Winter Woodland in my heart but this new one has! Wait until you see the word art! Love it!
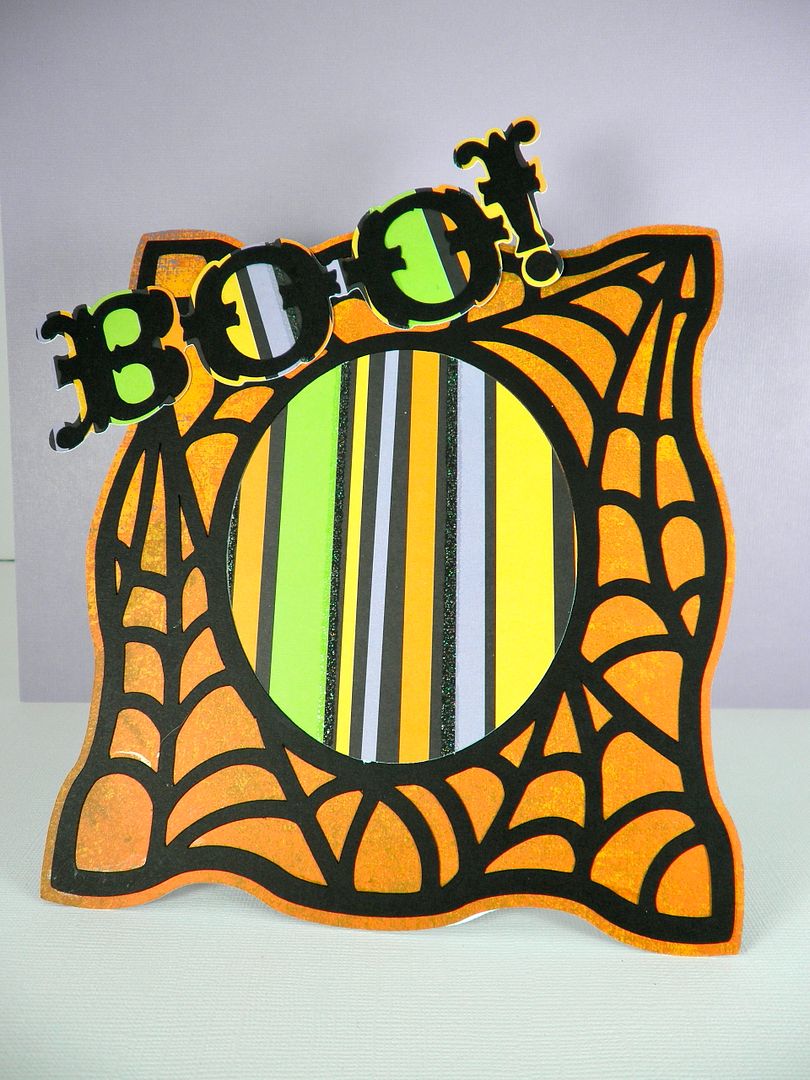
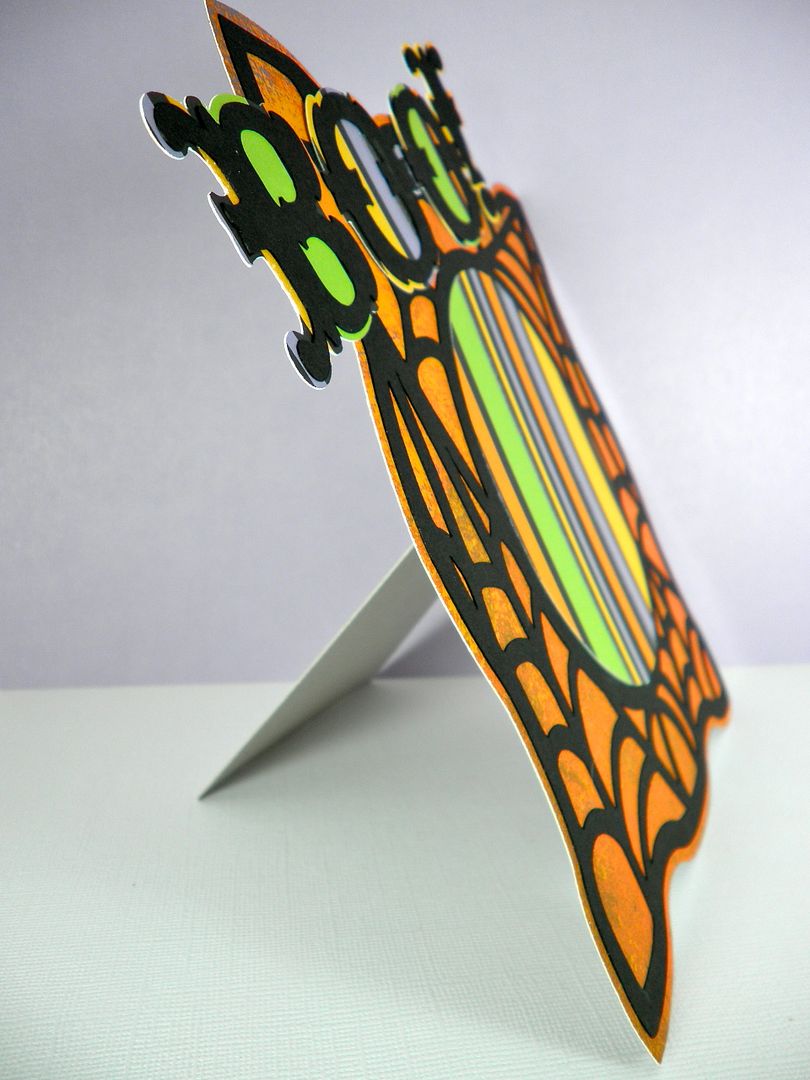
This cartridge has a whole row of different 3-D projects and I thought this frame was super cute! I cut it at 7" and just used adhesive along the edges so I could add my photo in later. It was extremely easy to assemble and I used chipboard for the back layer and for the frame support to give it strength. The "Boo!" word art was cut at 2". There is fabulous word art on this cartridge with all kinds of different fonts. Paper by Basic Grey and DCWV.
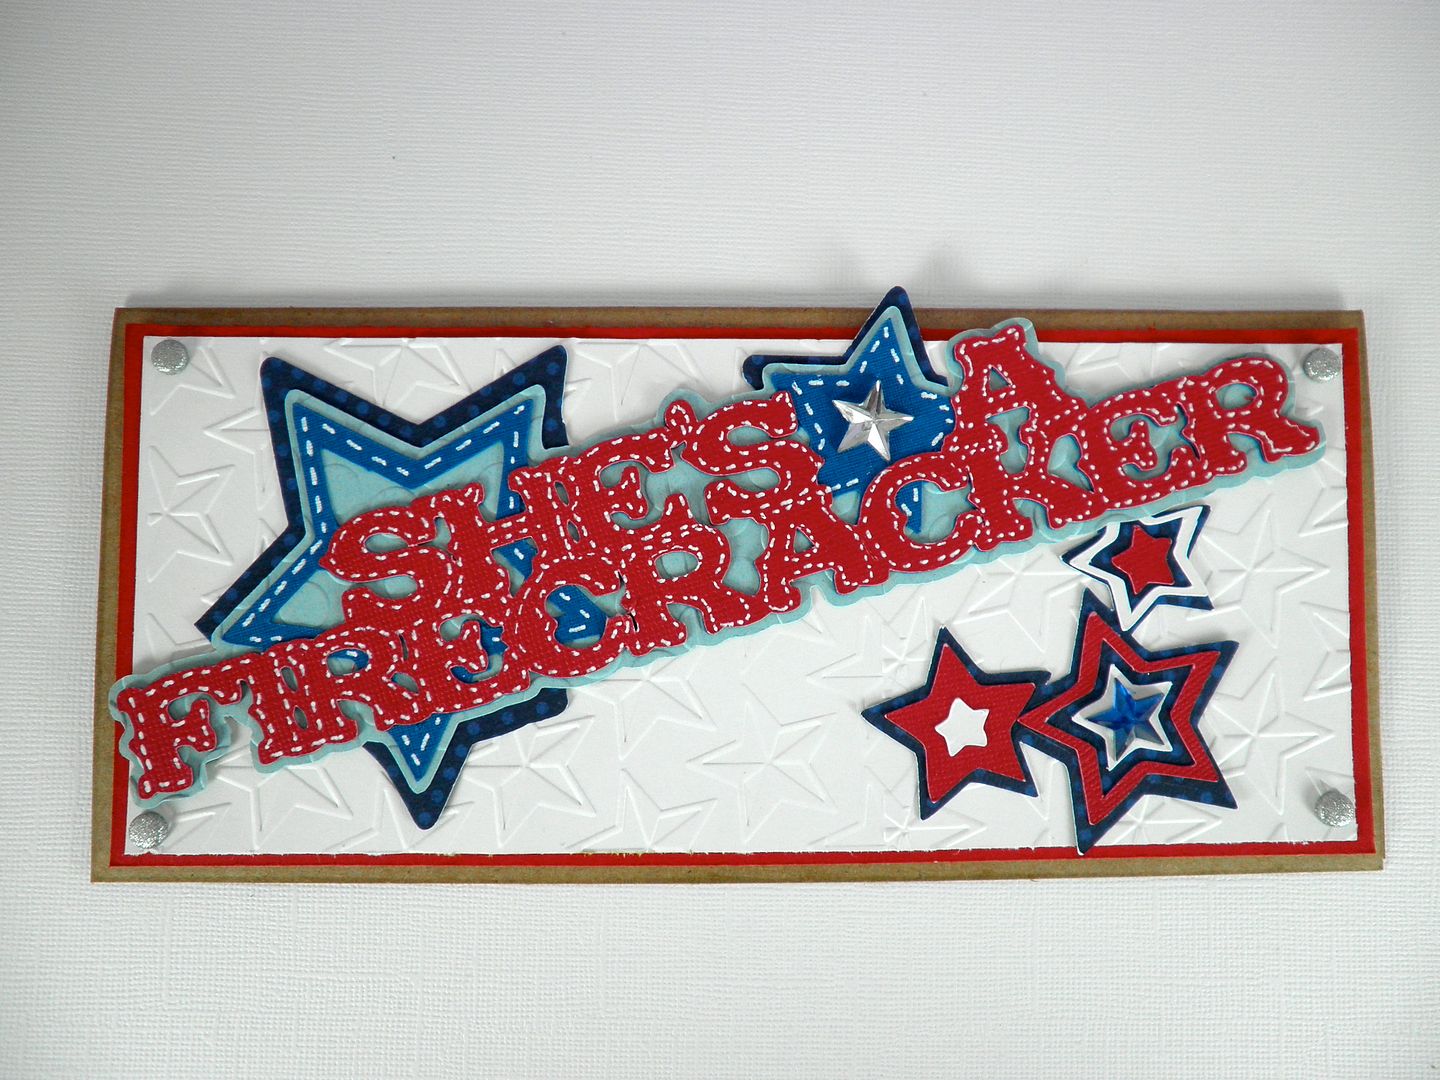
I decided to make this word art (she's a firecracker) a little more 4th of July thematic. It pairs perfectly with the stars images on this cartridge, as well as the "stars" Cuttlebug folder.
Subscribe to Obsessed with Scrapbooking to learn more about ways to use the Cricut in your scrapbooking! This post may contain affiliate links, which help subsidize my diet coke and coffee intake, necessary to run this blog.
Unless otherwise stated within the post, this is my original work. Please feel free to use as inspiration for your own personal use, but do not use for publication, contest/message board entries, or to sell. If my work inspires a work of your own, please give credit by posting a link to my blog. Thank you!