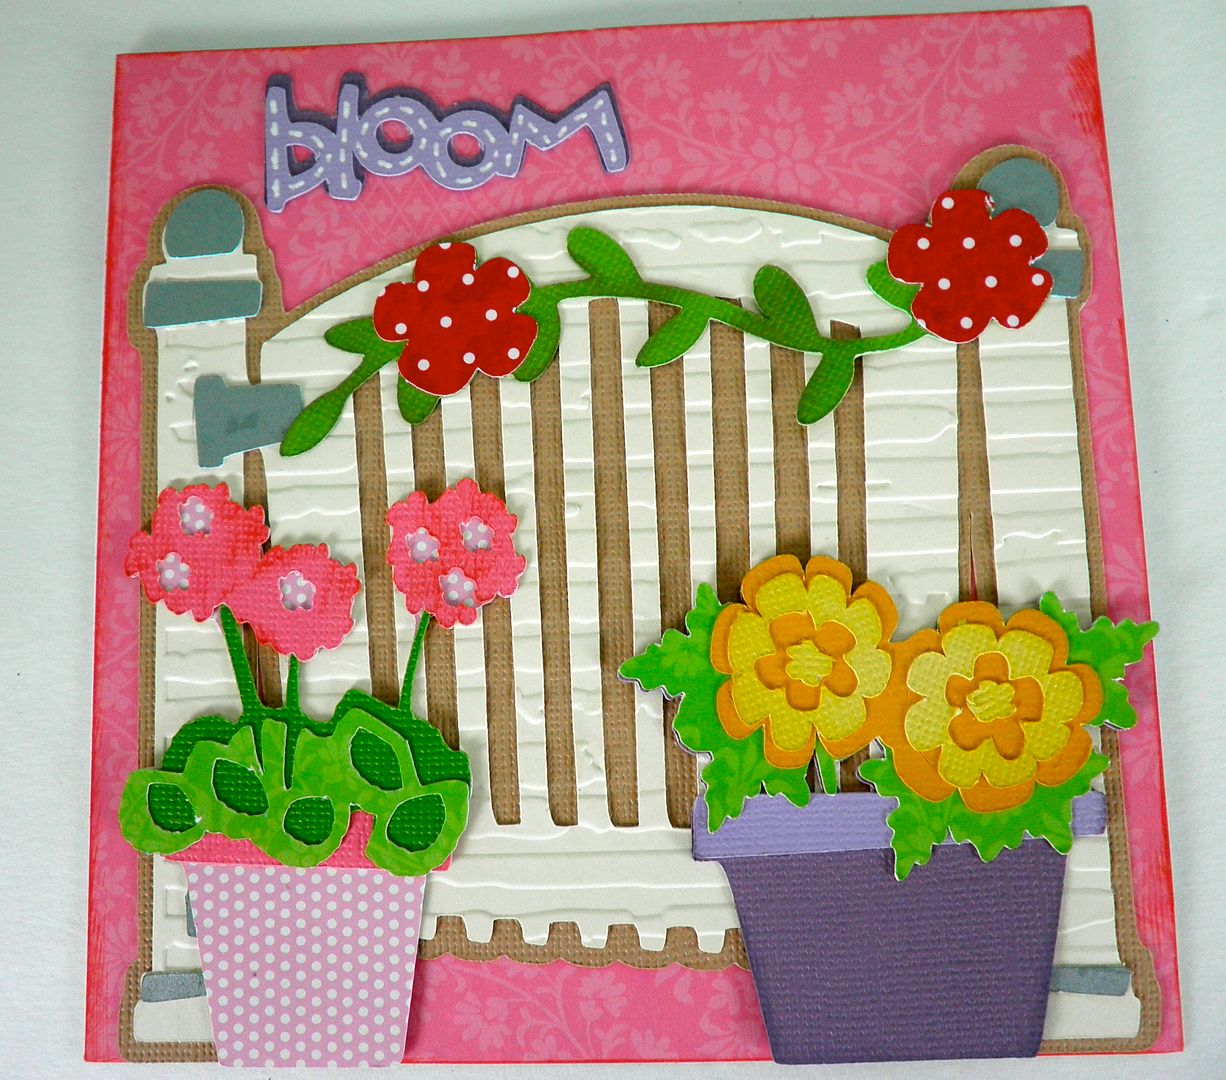
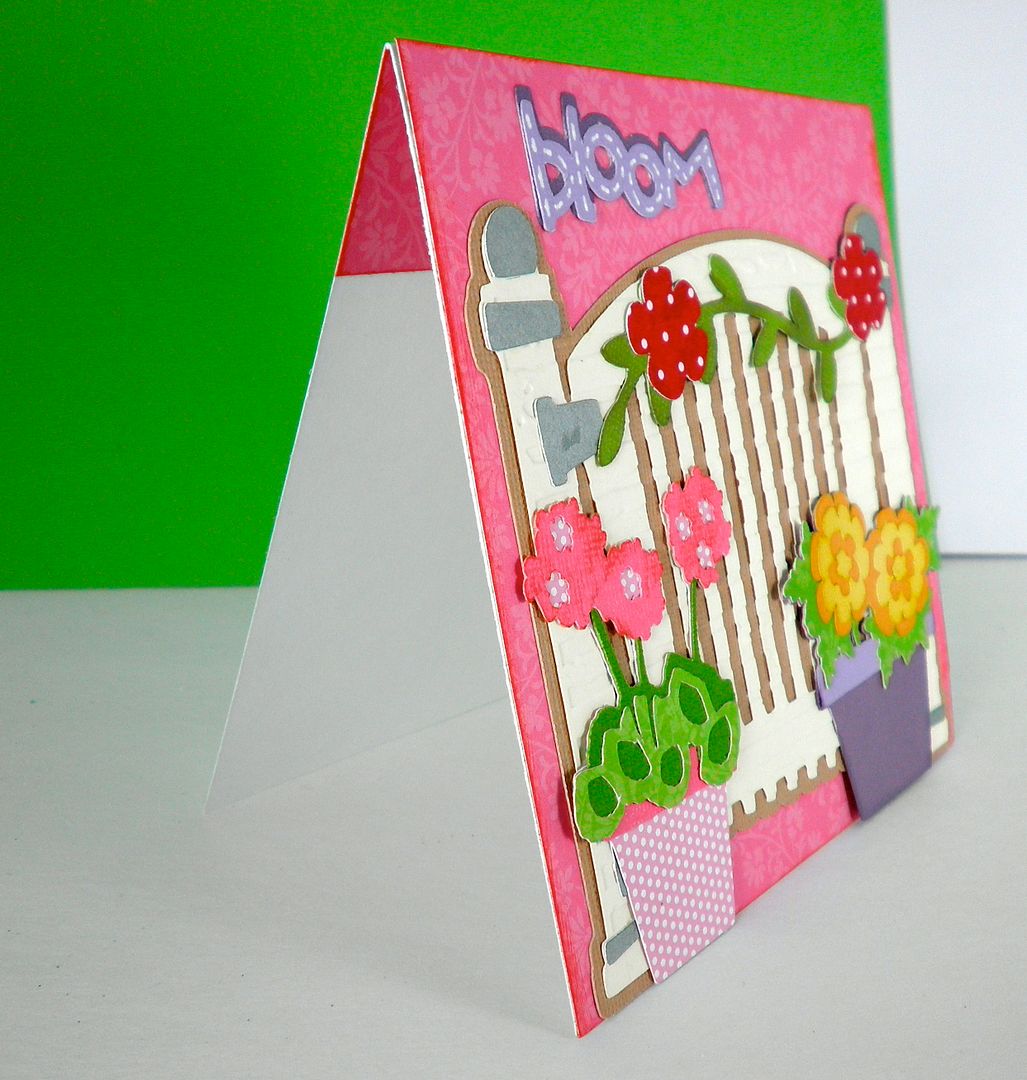
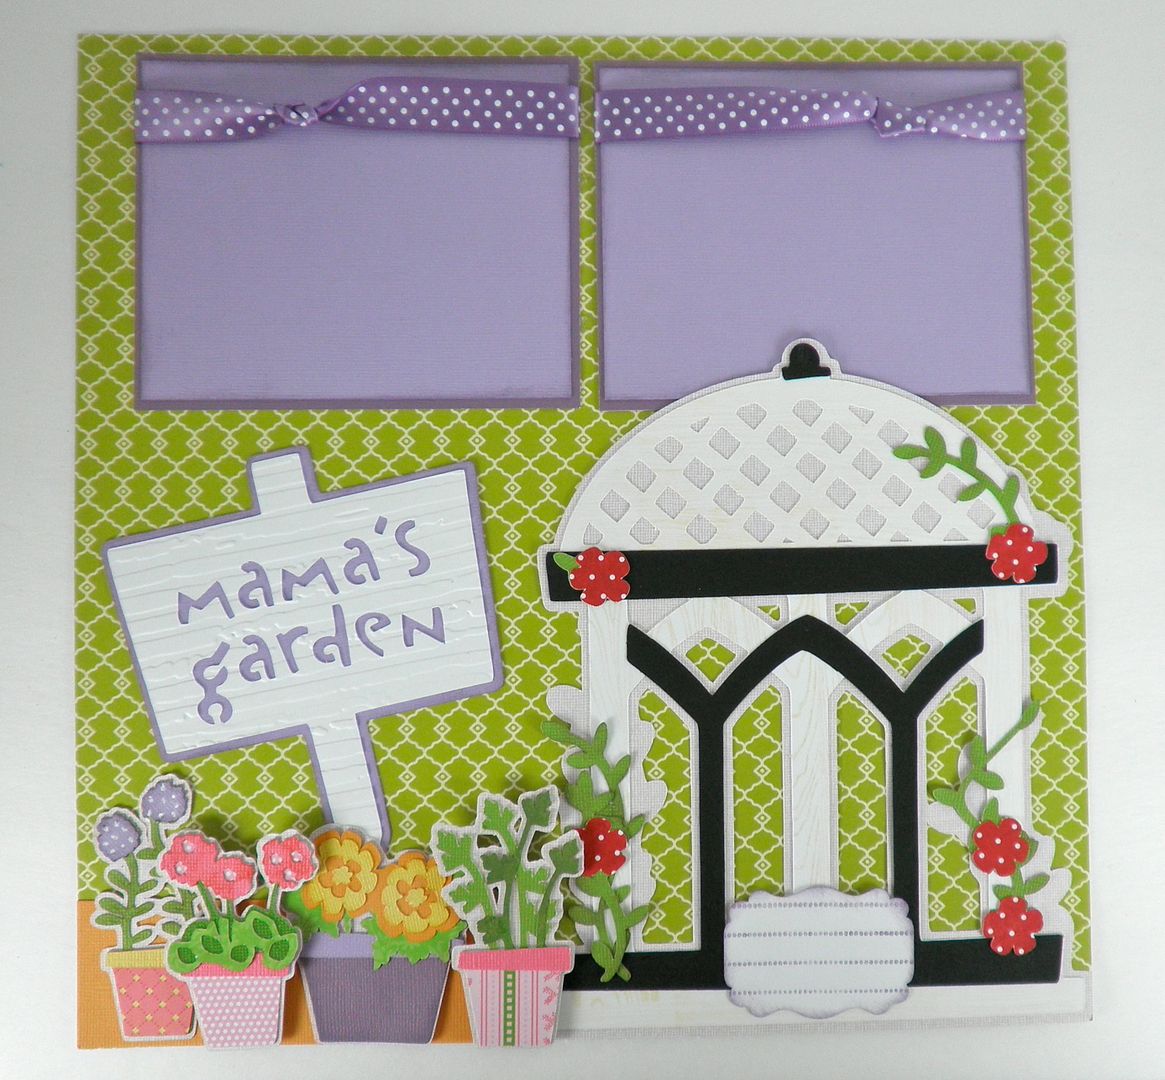
Today's 5" x 5" card was made using the new Freshly Picked Cricut cartridge! I loved this garden gate and originally was going to use it on a layout but decided on the card instead. I love the garland flower accents that are provided with this gate cut! SO CUTE! The flowers/pots are cut at 2" and 2-1/2" and they are actually 6 layers! They are very sturdy that way!
The "bloom" word art was cut at 3/4" high (2 layers) and then I used the white pen to give it some pop.
I have made projects for each of these cartridges - some with many cuts - and those will be shown below.
CONTEST CLOSED!!
BUT FIRST, what about a giveaway? You know there's always a great giveaway here in celebration of new cartridges!
I am giving away:
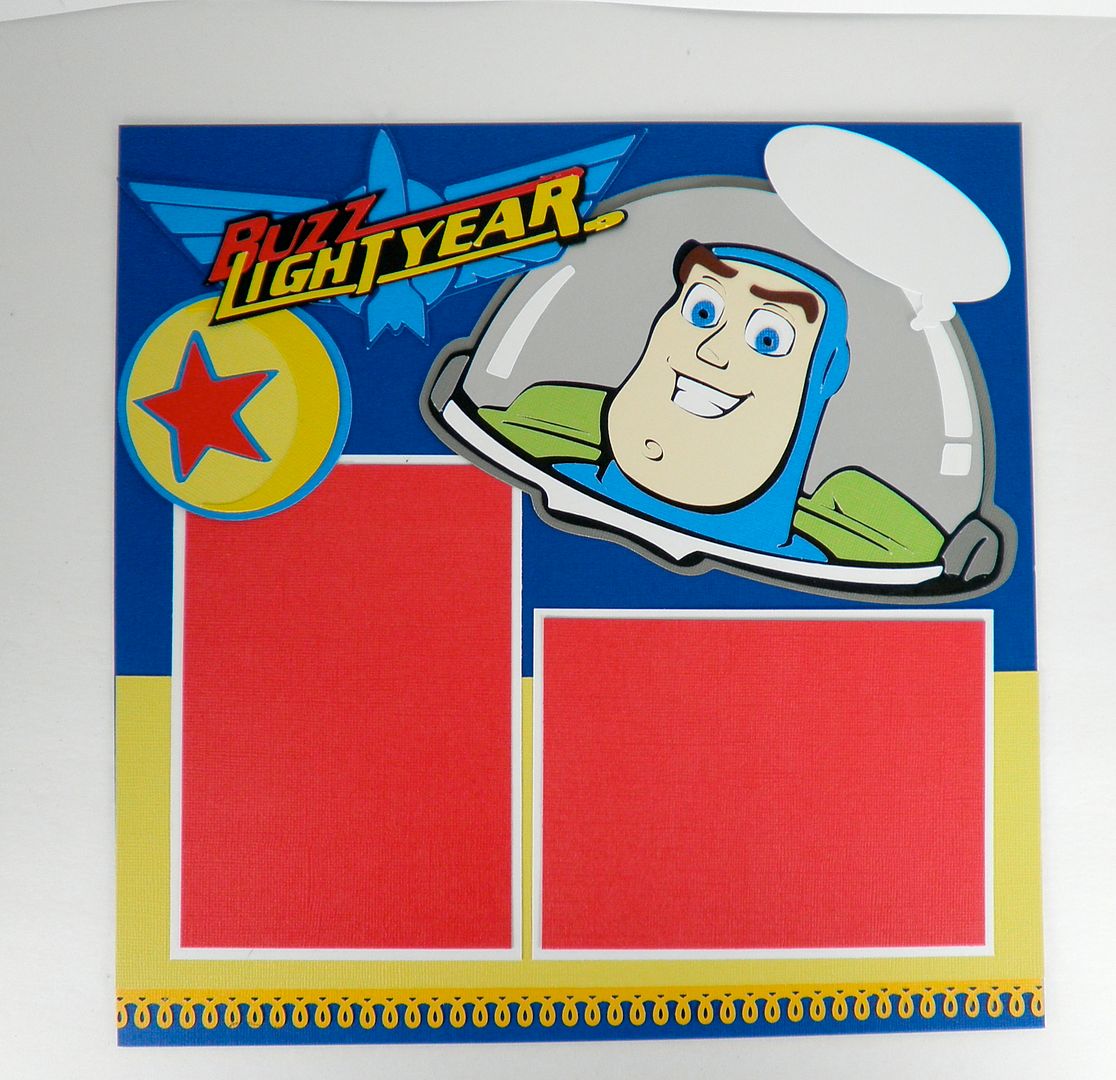
2- "You Pick ONE" Cricut cartridge of your choice from Hallmark Scrapbook - including pre-orders (except Toy Story) 1- Cricut Cake Chef Hat 1- Assortment of Heidi Swapp embellishments 1- 6x6 Basic Grey pad of paper - Max and Whiskers
PLUS
1- "Forever Young" Cricut cartridge - enter by clicking HERE!
How can you win?
1) Make sure you are signed up to get email or follow the blog!
2) Leave a comment below for a chance to win telling me which is your favorite new cartridge of this release!
Here's a way to get extra chances!
1) Facebook it and tell me about it - 5 extra chances
2) Tweet it and tell me about it - 5 extra chances
3) Send an email to your friends and tell me about it. - 10 extra chances
4) Become a fan on my facebook page located HERE - 10 extra chances
After looking around here, hop over to Courtney Lane Designs for more projects and a chance to win another set of cartridges!
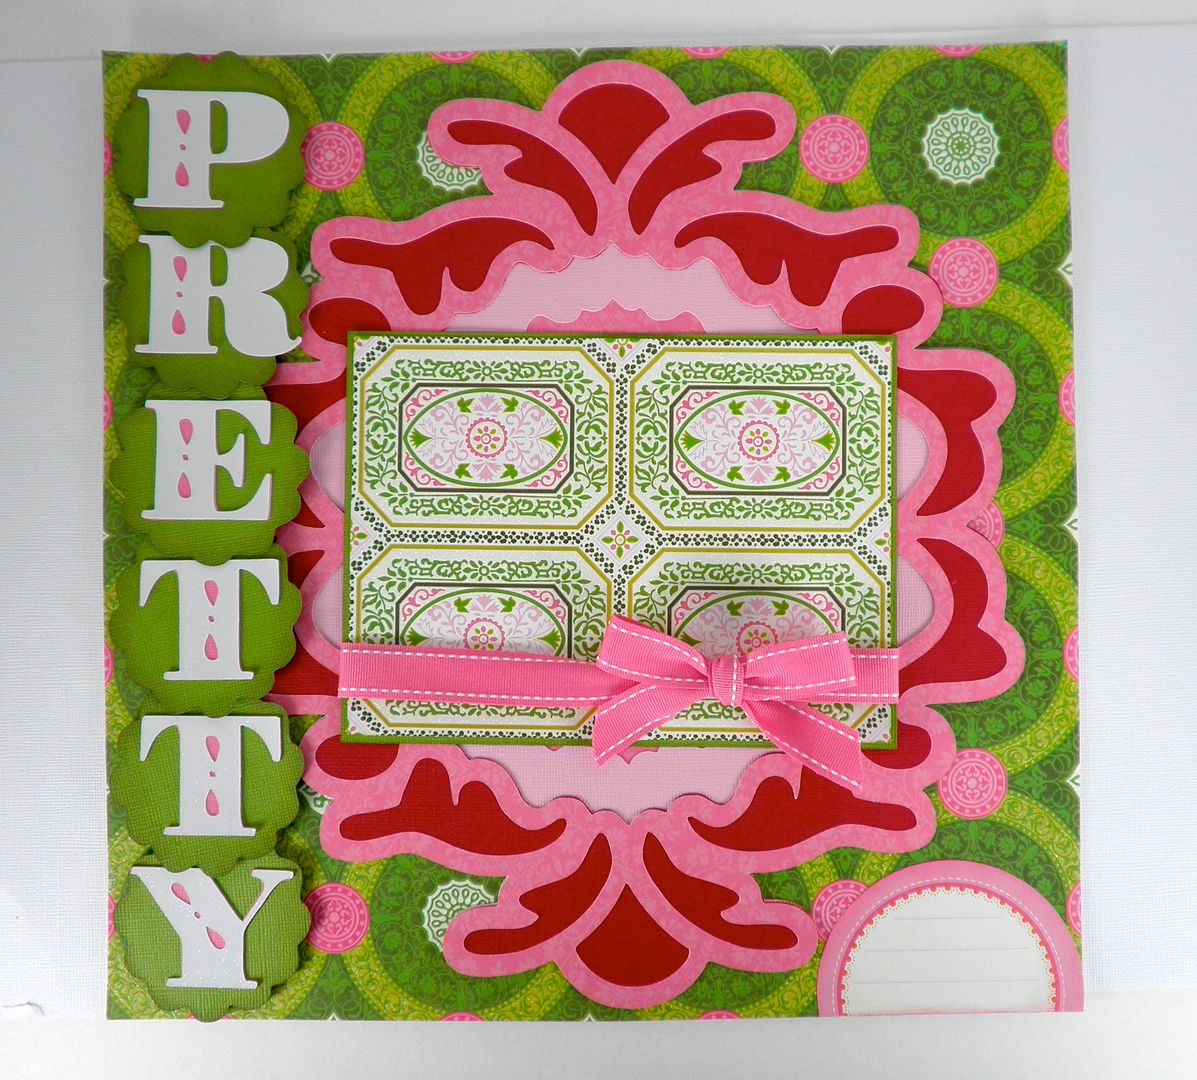
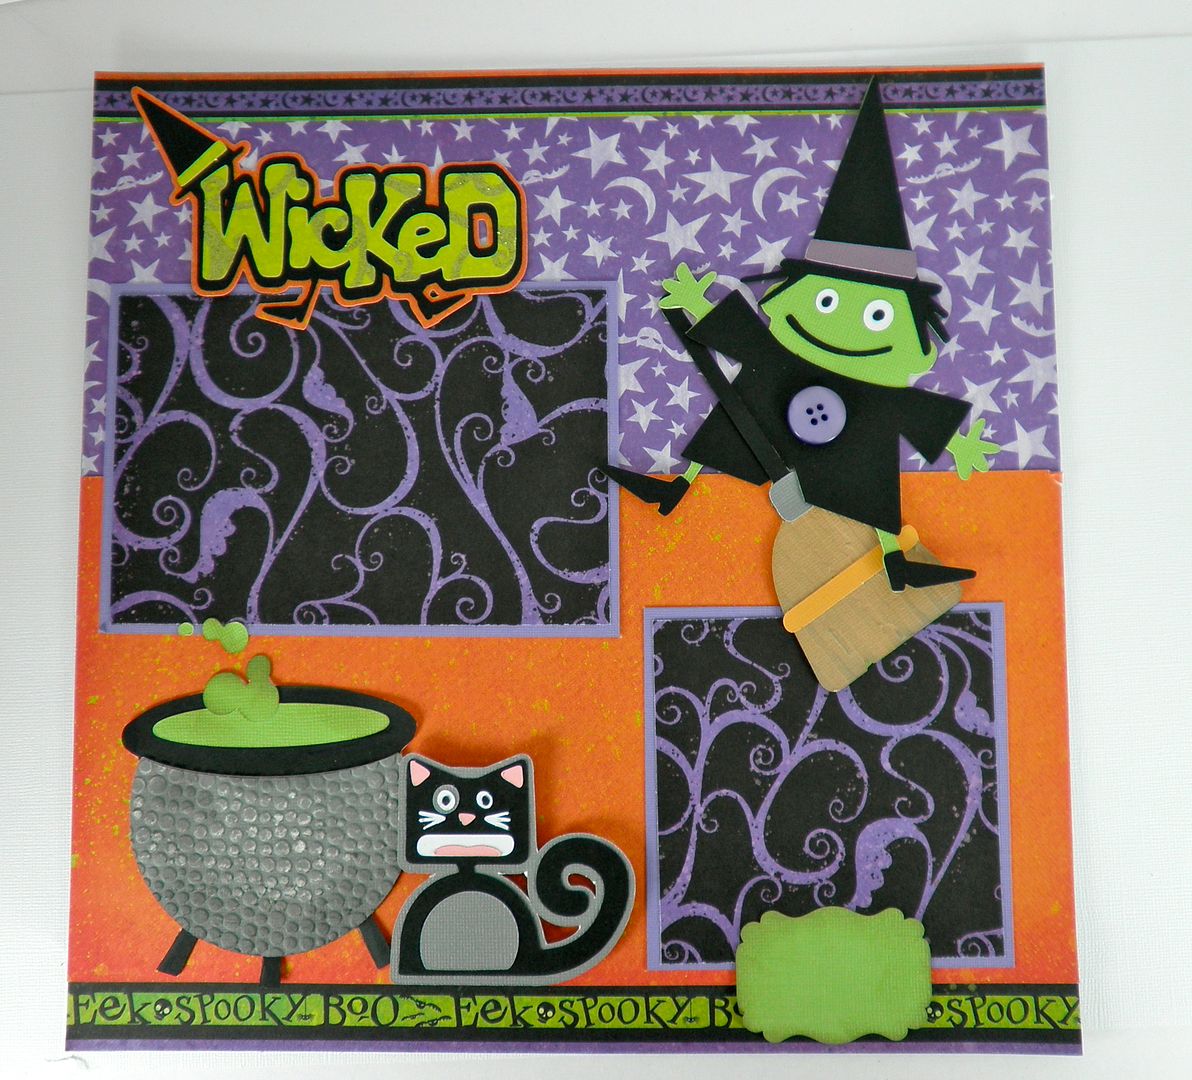
I cut the layered font, the scalloped circles behind each letter, and the background swirled medallion section (3 layers and I didn't use the shadow section, which would have been 4 - no room!). Paper is from Anna Griffin and DCWV glitter paper (white letters). Journaling block in bottom right corner is from Anna Griffin also.
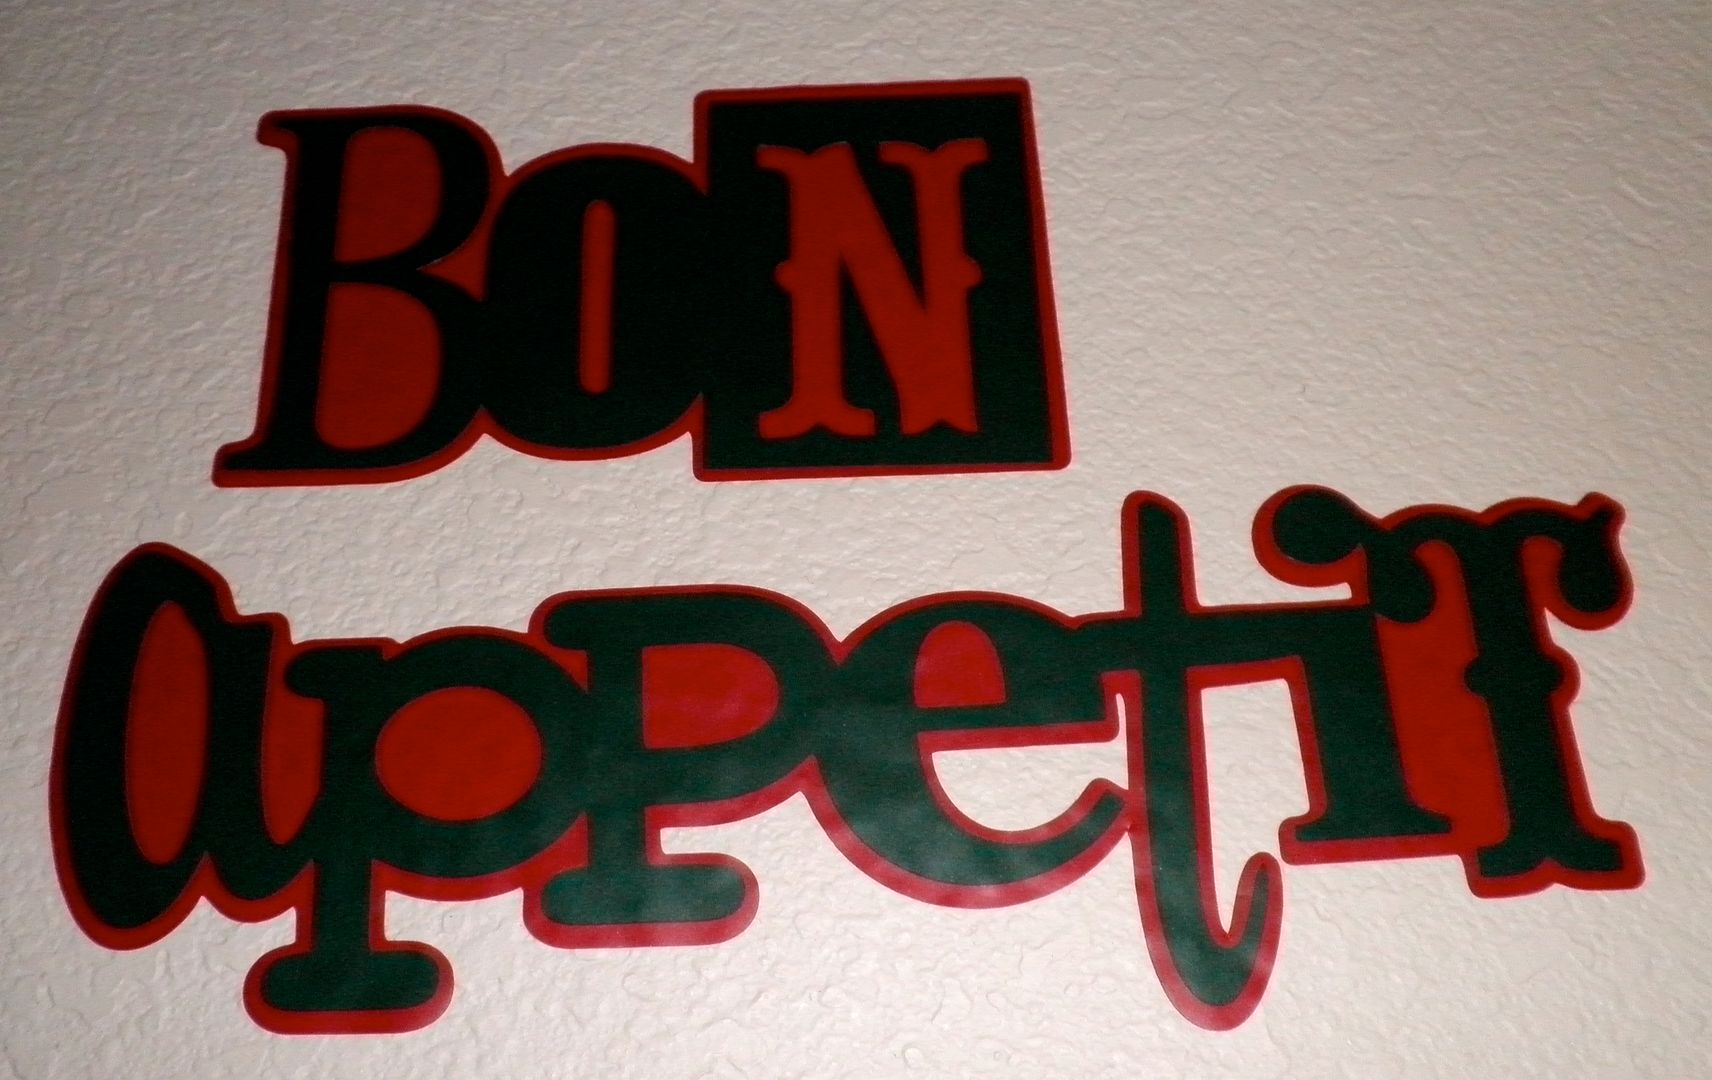
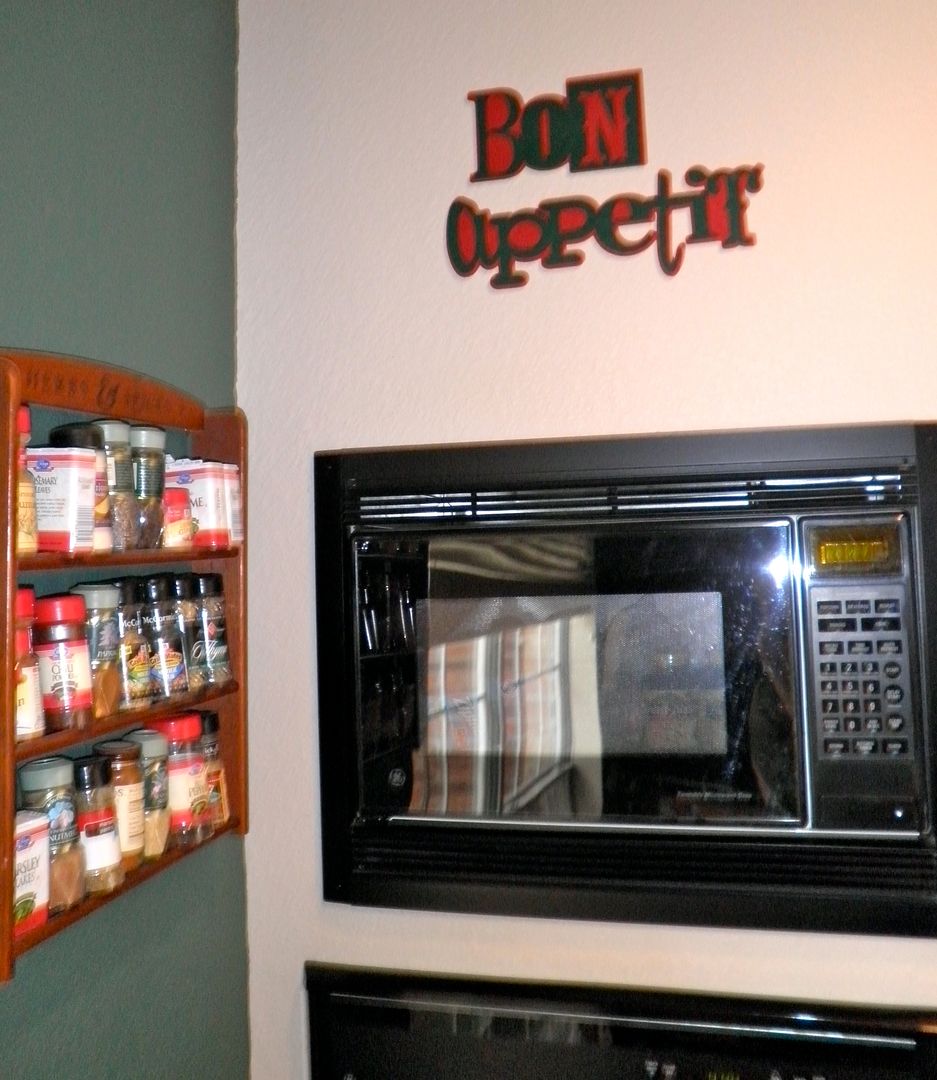
Sorry for the poor picture quality - tough corner to photograph! This layered vinyl "Bon Appetit" was cut from Wall Decor and More. It was cut at 4-3/4" and cut out at 23" long. I stacked the images on top of one another. A tip with this cart when trying to figure out how big to cut something is to use the "fit to length" button set at 23" on the size dial (for a sheet of vinyl 12" x 24"). BUT, when you do this, be sure and start with the shadowed layer section and take note of the height that will flash onto the screen. Then cut the base layer at this height you noted.
If you want to see more info on how to layer vinyl, click HERE or watch the video below.
P.S. I'll be featuring more projects using these cartridges over the next several days so be sure and check back. There will be more giveaways to come so keep checking!
Unless otherwise stated within the post, this is my original work. Please feel free to use as inspiration for your own personal use, but do not use for publication, contest/message board entries, or to sell. If my work inspires a work of your own, please give credit by posting a link to my blog. Thank you!