
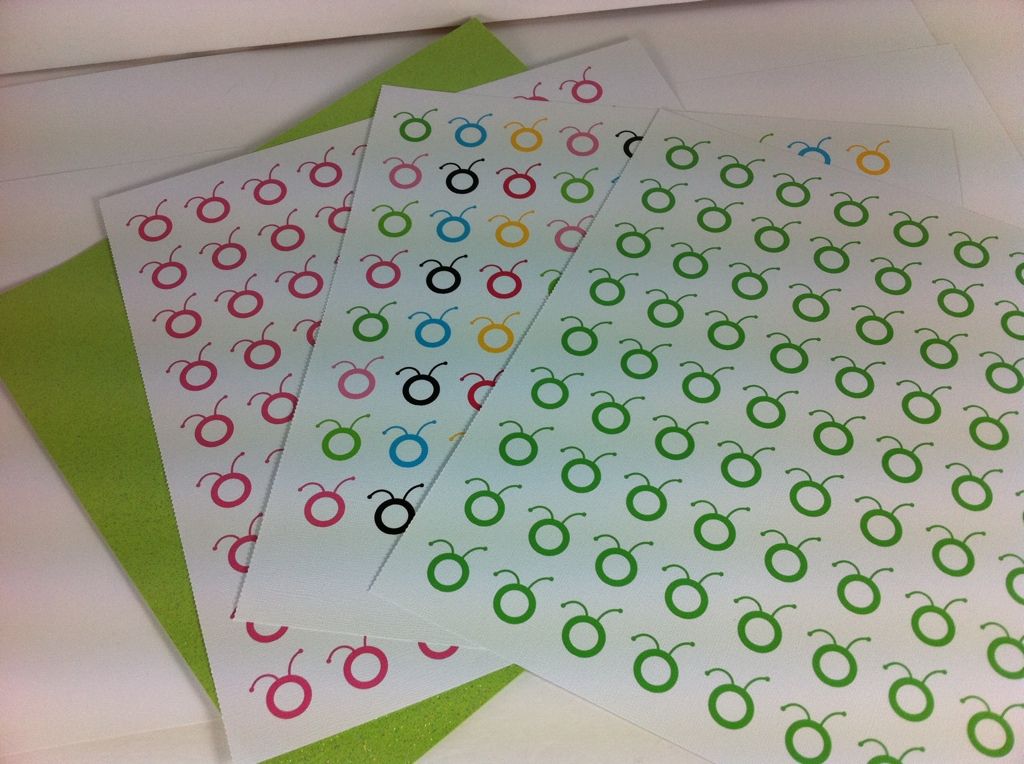
To make a page with one color Cricut Circle logos:
Using your Imagine machine and the Cricut Everyday cartridge, do the following:
1) Adjust your settings so the machine will only print.
2) Enter the plain logo (base shape) on key #1 on the Cricut Everyday cartridge.
3) Edit the sizing to 1" true size.
4) Fill with green or pink color to get the solid papers.
5) Press Next and go to the print and cut preview screen. Click on the "autofill button".
6) Load Mat and press cut (in this case it will only print).
Want a multi-colored sheet?
Using your Imagine machine and the Cricut Everyday cartridge, do the following:
1) Adjust your settings so the machine will only print.
2) Enter the plain Cricut logo (base shape) on key #1 on the Cricut Everyday cartridge.
3) Edit the sizing to 1" true size.
4) Enter FIVE more Cricut logos.
5) Edit and fill first logo with green, the next with blue, yellow, pink, black, then red.
6) Press Next and go to the print and cut preview screen. Click on the "autofill button".
7) Load Mat and press cut (in this case it will only print).
I used the pre-set colors on the Cricut Imagine All Wrapped Up Cartridge and they were fantastic for this use!Here are some projects using the Cricut Circle logo papers I made and the milk box cut on the Cricut Imagine All Wrapped Up cartridge. This is the only cartridge that has a milk box cut and it cuts out fairly large. Wouldn't this be cute with some candy in it for a crop or Cricut Swarm you might be attending. The pink Cricut Circle logo paper would be great for a Scrap Pink event!
I also used the Cricut Everyday Cartridge on these projects:
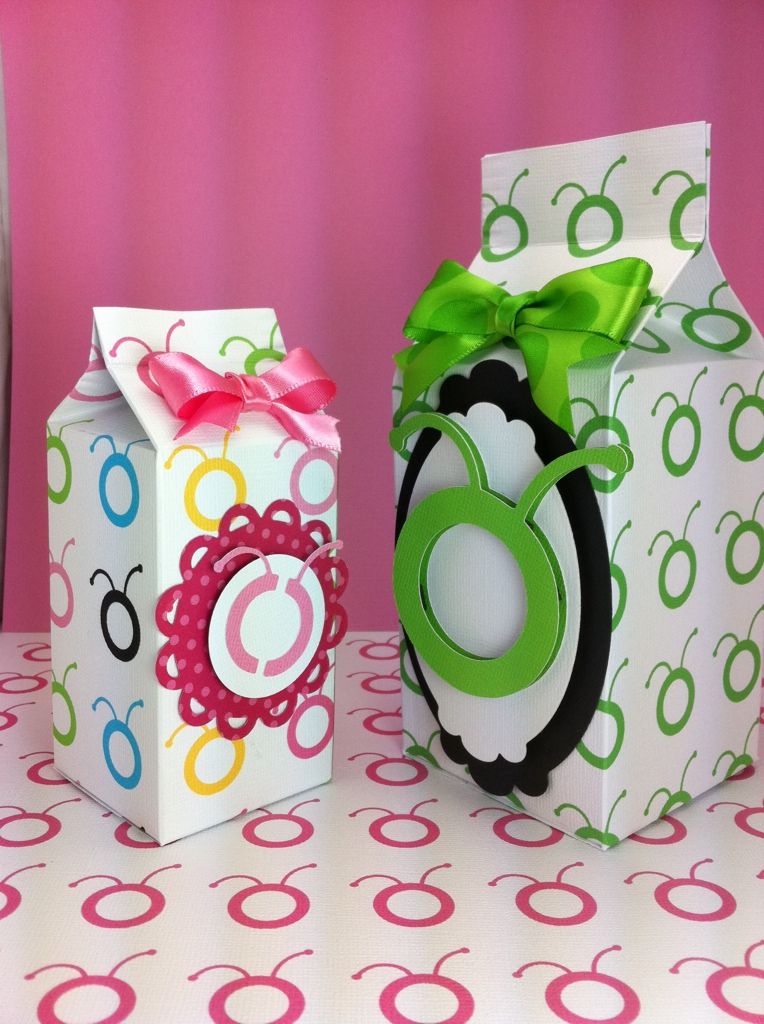
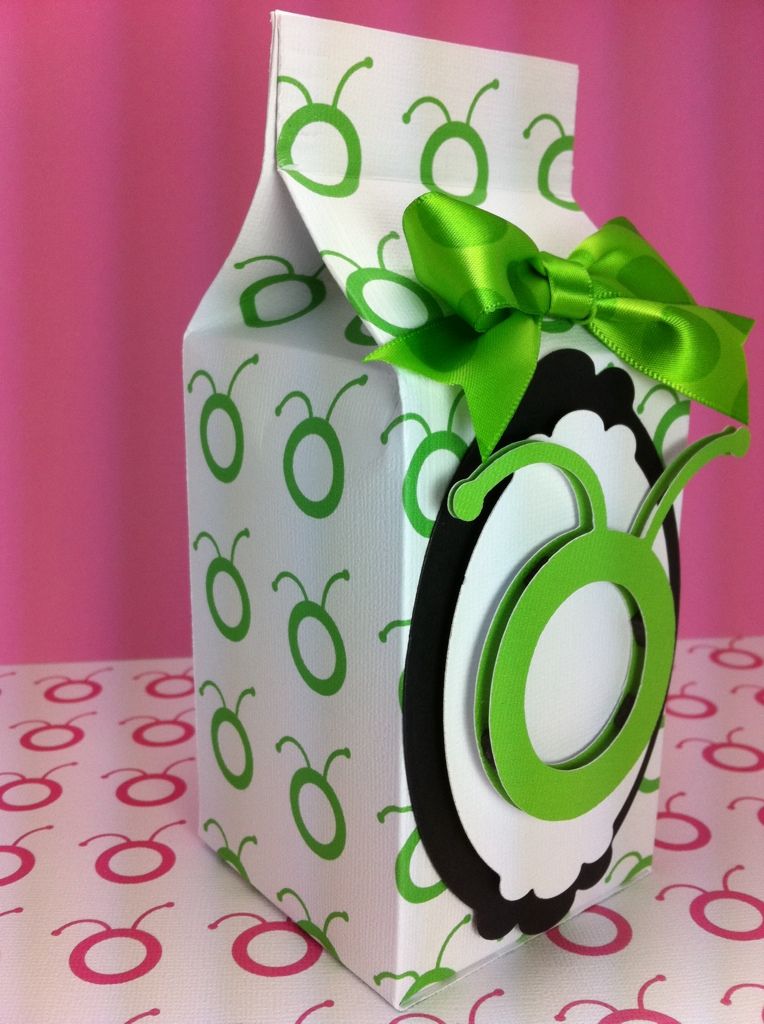
Green is cut at "fit to page" and comes out approximately 6" tall to the top. Logo cut at 2".
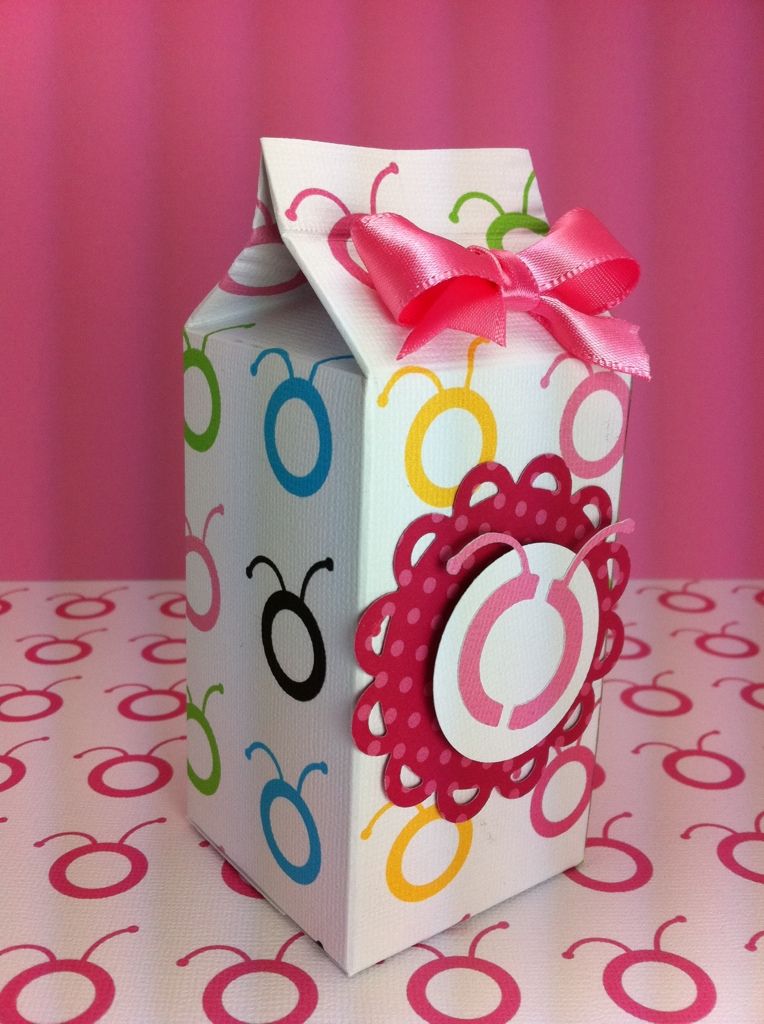
Pink was cut at 6.5" and stands approximately 5" tall to the top. Logo cut at 1-1/2".
Subscribe to Obsessed with Scrapbooking to learn more about ways to use the Cricut in your scrapbooking!


